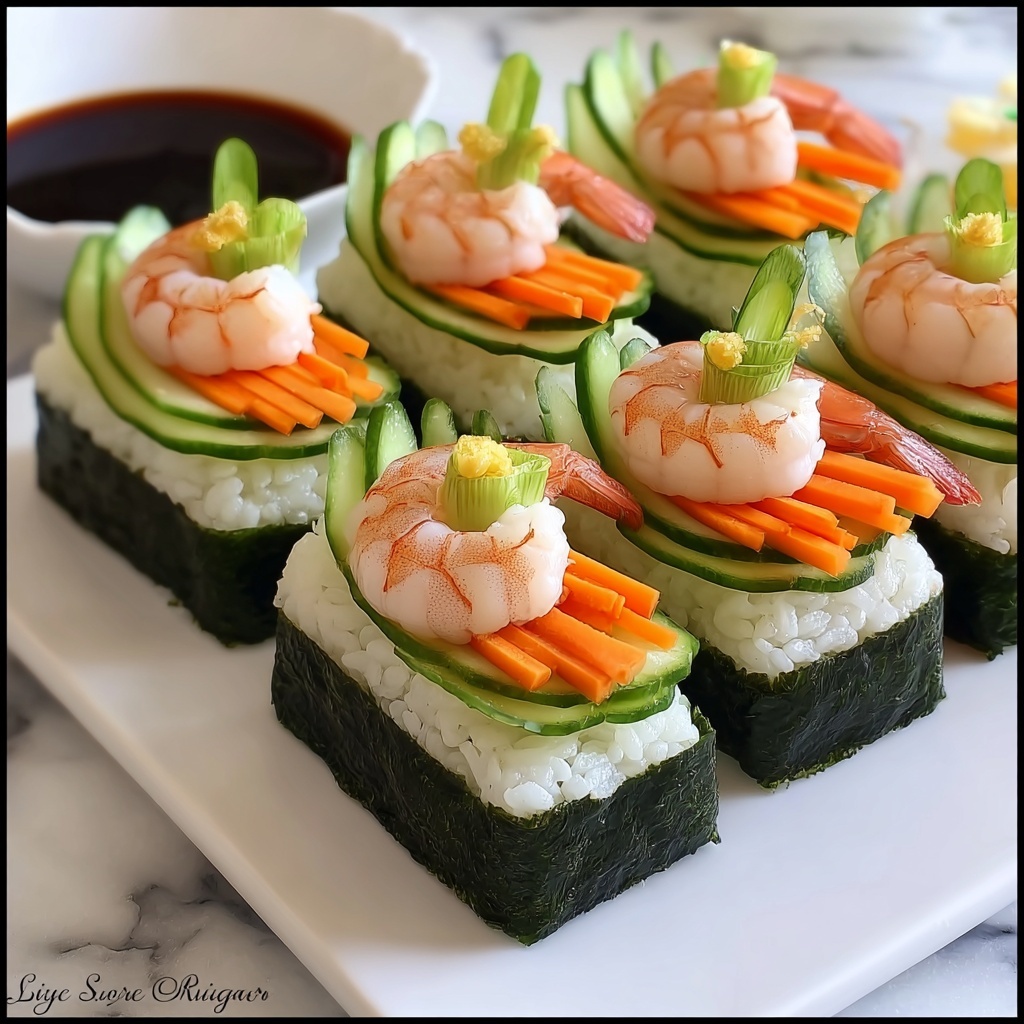
If you are craving a fun, fresh, and utterly satisfying meal, let me introduce you to Shrimp Sushi Boats: 5 Simple Steps to Pure Delight Recipe. This dish brings all your favorite sushi elements together into a playful, handheld “boat” made from nori, packed with fluffy sushi rice, succulent shrimp, and crisp veggies. Each bite is a perfect harmony of textures and flavors that feels like a celebration in your mouth. Whether it’s a quick weeknight treat or an impressive dish to share with friends, these shrimp sushi boats are guaranteed to delight every time.
Ingredients You’ll Need
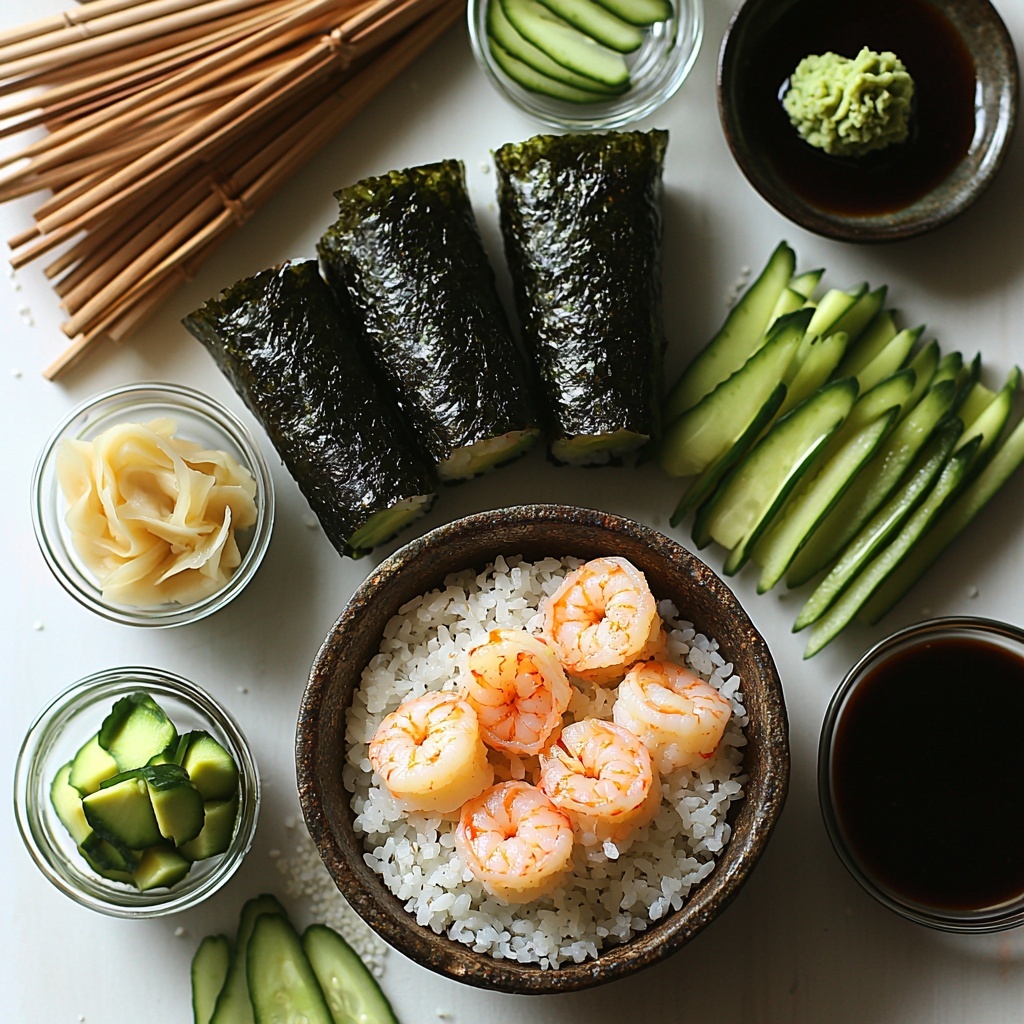
These ingredients may seem simple, but each one plays a crucial role in creating the authentic taste and vibrant look of the shrimp sushi boats. From the fluffy sushi rice to the creamy avocado and crunchy cucumber, every component is essential for that perfect sushi experience.
- 2 cups sushi rice: The foundation of every sushi dish, providing a slightly sticky and tender base.
- 1 lb shrimp, peeled and deveined: Offers a juicy, slightly sweet protein that cooks quickly to perfection.
- 4 sheets nori (seaweed): These will be cut into the “boat” shapes and add a pleasant umami flavor and crisp texture.
- 1 avocado, sliced: Adds creaminess and a wonderful buttery texture to balance the shrimp.
- 1 cucumber, julienned: Brings a refreshing crunch and lightness to the dish.
- 2 tablespoons rice vinegar: Gives the sushi rice its classic tangy zing.
- 1 tablespoon sugar: Sweetens the rice gently to enhance its natural flavor.
- 1 teaspoon salt: Enhances overall taste and rounds out the vinegar mixture.
- Wasabi, for serving: A spicy kick to awaken your palate.
- Soy sauce, for serving: Offers savory depth and a touch of saltiness that complements every bite.
How to Make Shrimp Sushi Boats: 5 Simple Steps to Pure Delight Recipe
Step 1: Cook the Sushi Rice
Start by cooking your sushi rice according to the package instructions. The key to perfectly cooked sushi rice is rinsing it under cold water until the water runs clear, then using the right amount of water during cooking. This ensures soft, sticky grains that hold beautifully together in your sushi boats.
Step 2: Prepare the Vinegar Mixture
Mix together the rice vinegar, sugar, and salt in a small bowl until everything dissolves completely. This sweet and tangy mixture will be folded into your cooked rice to give it that signature sushi flavor. It’s simple but makes all the difference!
Step 3: Season and Cool the Rice
Once the rice is cooked, gently fold in the vinegar mixture while the rice is still warm. This allows the grains to absorb the flavors evenly without becoming mushy. Set the rice aside to cool to room temperature before assembling your boats.
Step 4: Cook the Shrimp
While your rice cools, bring a pot of salted water to a boil and cook the shrimp until they turn pink and opaque, which only takes about 2 to 3 minutes. This quick cooking preserves their tenderness and juicy texture, crucial for balancing the entire dish.
Step 5: Assemble Your Shrimp Sushi Boats
Carefully slice the nori sheets into “boat” shapes—this fun step transforms sushi into something playful and hand-held. Place a generous scoop of the seasoned sushi rice in each boat, then top with cooked shrimp, creamy avocado slices, and crisp cucumber julienne. Your shrimp sushi boats are now ready to sail right onto your plate!
How to Serve Shrimp Sushi Boats: 5 Simple Steps to Pure Delight Recipe
Garnishes
To elevate the presentation and flavor, add small dots of wasabi alongside your boats for that fiery punch. A drizzle of soy sauce or placing a tiny dish for dipping allows guests to customize each bite. Sprinkle a few toasted sesame seeds or thinly sliced green onions to add color and an extra layer of texture too.
Side Dishes
Pair these shrimp sushi boats with a light seaweed salad or quick pickled ginger slices to cleanse the palate between bites. A miso soup on the side warms the soul and complements the fresh ingredients beautifully, making for a complete and harmonious Japanese-inspired meal.
Creative Ways to Present
For a fun twist, try serving the shrimp sushi boats on a wooden sushi platter with small bowls of wasabi and soy sauce artfully arranged. You can also let each person customize their boat by providing extra toppings like spicy mayo, tobiko, or thinly sliced radishes. The hands-on experience adds joy and makes this recipe even more memorable.
Make Ahead and Storage
Storing Leftovers
If you have any shrimp sushi boats left, store them in an airtight container in the fridge for 3-4 days. Keep the wasabi and soy sauce separate until you’re ready to serve again, as they help preserve the fresh flavors. Reassemble the boats if the nori starts to lose its crispness before enjoying.
Freezing
Freezing is not recommended for shrimp sushi boats because the texture of sushi rice and fresh vegetables changes significantly after thawing. It’s best to enjoy this dish fresh or within a few days refrigerated to savor every bite at its best.
Reheating
To gently reheat leftover shrimp sushi boats, remove any fresh vegetables and reheat the rice and shrimp in a microwave-safe dish with a damp towel over the top to preserve moisture. However, reheating will soften the nori, so consider assembling fresh boats if possible for the ultimate authentic experience.
FAQs
Can I use frozen shrimp for this recipe?
Absolutely! Just be sure to thaw them fully and pat dry before boiling, so they cook evenly and don’t add excess water to your boats.
Is there a substitute for rice vinegar?
If you don’t have rice vinegar on hand, you can use white wine vinegar or apple cider vinegar, but use a bit less to avoid overpowering the delicate sushi rice flavor.
How do I make the nori sheets into boat shapes?
Simply cut each nori sheet into rectangles, then gently curve and pinch the sides to form a shallow boat shape. You can secure the ends with a small dab of water if needed to hold the shape for filling.
Can I add other toppings to these sushi boats?
Definitely! Feel free to experiment with ingredients like thinly sliced mango, shredded carrots, or even spicy mayo to make this recipe uniquely yours.
What if I don’t have sushi rice? Can I use regular rice?
While sushi rice is ideal for its stickiness and texture, you can substitute with short-grain rice cooked properly. Avoid long-grain rice, as it won’t bind enough to hold the boat’s shape well.
Final Thoughts
If you’re craving a dish that’s as fun to eat as it is delicious, Shrimp Sushi Boats: 5 Simple Steps to Pure Delight Recipe should definitely be on your must-try list. It’s a wonderful way to bring a little homemade sushi magic to your table without stress or fuss. I hope you enjoy assembling and savoring these delightful boats as much as I do!
Print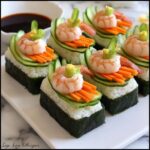
Shrimp Sushi Boats: 5 Simple Steps to Pure Delight Recipe
- Prep Time: 15 minutes
- Cook Time: 15 minutes
- Total Time: 30 minutes
- Yield: 4 servings
- Category: Appetizer
- Method: Stovetop
- Cuisine: Japanese
- Diet: Low Fat
Description
Shrimp Sushi Boats offer a delightful, easy-to-make sushi dish featuring perfectly cooked shrimp, sushi rice infused with a tangy vinegar mixture, and fresh avocado and cucumber toppings. Perfect for sushi lovers looking for a simple and fun presentation in just 30 minutes.
Ingredients
Rice
- 2 cups sushi rice
- 2 tablespoons rice vinegar
- 1 tablespoon sugar
- 1 teaspoon salt
Seafood & Vegetables
- 1 lb shrimp, peeled and deveined
- 1 avocado, sliced
- 1 cucumber, julienned
Others
- 4 sheets nori (seaweed)
- Wasabi, for serving
- Soy sauce, for serving
Instructions
- Cook Sushi Rice: Prepare the sushi rice according to the package instructions to ensure fluffy, sticky rice perfect for shaping.
- Prepare Vinegar Mixture: In a small bowl, combine rice vinegar, sugar, and salt, stirring until the sugar dissolves.
- Mix Rice and Vinegar: Once the rice is cooked, gently fold in the vinegar mixture. Allow the rice to cool to room temperature for better texture and flavor.
- Cook Shrimp: While the rice cools, boil the peeled and deveined shrimp in salted water until they turn pink, approximately 2-3 minutes. Drain and set aside.
- Assemble Sushi Boats: Cut nori sheets into boat shapes. Place a scoop of the seasoned rice inside each nori boat, then top with cooked shrimp, sliced avocado, and julienned cucumber. Serve immediately with wasabi and soy sauce for dipping.
Notes
- Use short-grain sushi rice for best results and stickiness.
- Ensure shrimp are fully cooked but not overcooked to maintain juiciness.
- Allow rice to cool before assembling to prevent wilting the nori.
- Customize toppings with other sushi ingredients like pickled ginger or thinly sliced radish.
- Serve immediately after assembly to keep nori crisp.

