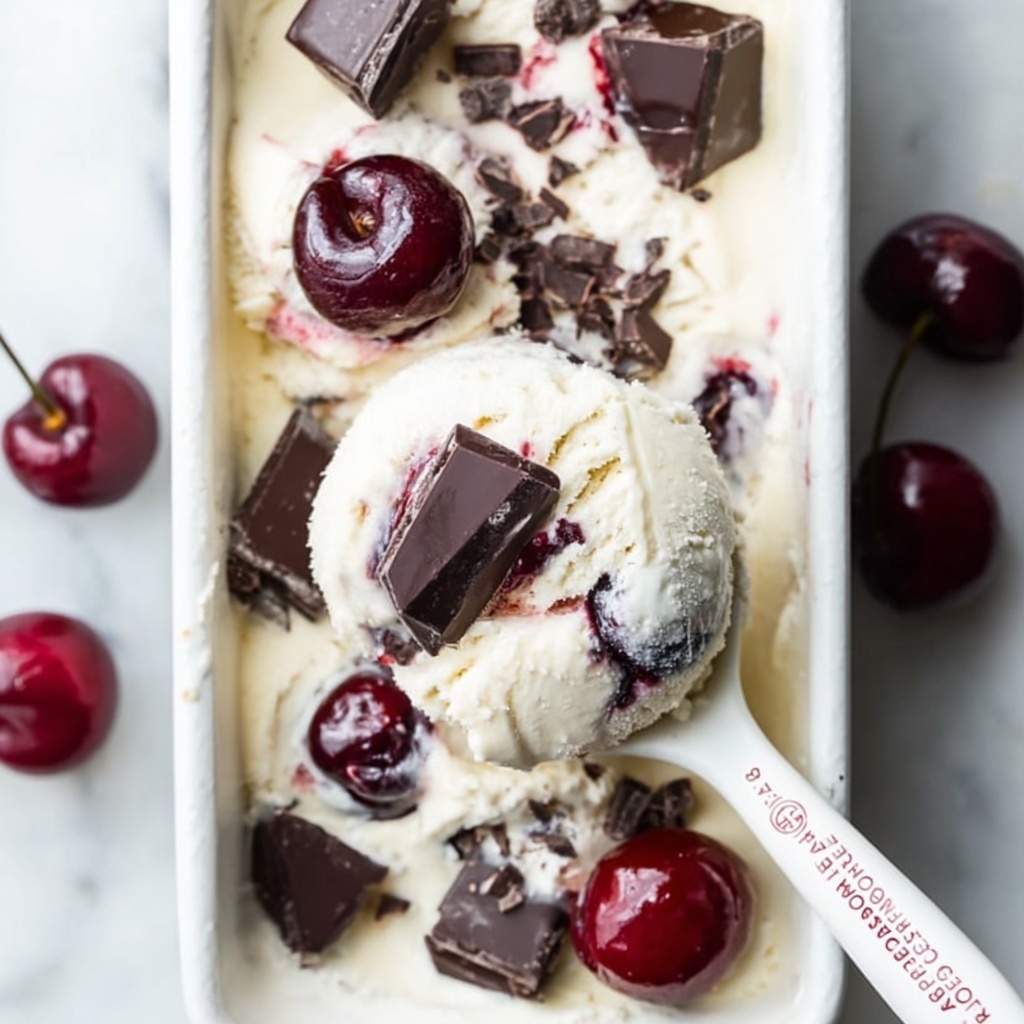
If you’ve been searching for an irresistible dessert that feels both luxurious and effortlessly simple, this No-Churn Chocolate Cherry Ice Cream Recipe is about to become your new best friend. Creamy, rich chocolate and tart cherries come together in a velvety frozen treat that requires no fancy ice cream maker and just a handful of ingredients. Whether you’re making a special treat for your family, impressing guests, or simply indulging your sweet tooth, this recipe strikes the perfect balance of fresh fruit and decadent chocolate in a way that’s totally foolproof and wonderfully satisfying.
Ingredients You’ll Need
The beauty of this No-Churn Chocolate Cherry Ice Cream Recipe lies in the simplicity and quality of its ingredients. Each component plays a crucial role: the whipping cream adds luscious creaminess, the sweetened condensed milk provides natural sweetness and a silky texture, vanilla brings depth to the flavor, and the cherries and dark chocolate chunks add pops of freshness and intensity.
- 16 oz carton whipping cream: This is the base that whips up into fluffy peaks, giving the ice cream its creamy body without needing churning.
- 10 oz can sweetened condensed milk: Packed with sweetness and richness, it acts as the perfect natural sweetener and binder for the ice cream.
- 1 teaspoon vanilla: Adds a warm, aromatic undertone that enhances both the chocolate and cherry flavors beautifully.
- 1 cup cherries, pitted and chopped or quartered: Fresh or frozen cherries bring a juicy, tart contrast that brightens the entire dessert.
- 1 cup dark chocolate, chopped or chunks: These melty, bittersweet bits add decadent bursts of flavor and a delightful texture throughout the ice cream.
How to Make No-Churn Chocolate Cherry Ice Cream Recipe
Step 1: Whip the Cream
Start by pouring the cold whipping cream into a large mixing bowl. Using a hand mixer or stand mixer, whip the cream until stiff peaks form. This means it should hold firm peaks when you lift the beaters out, making sure your ice cream will be rich and airy without any ice crystals.
Step 2: Incorporate Ingredients
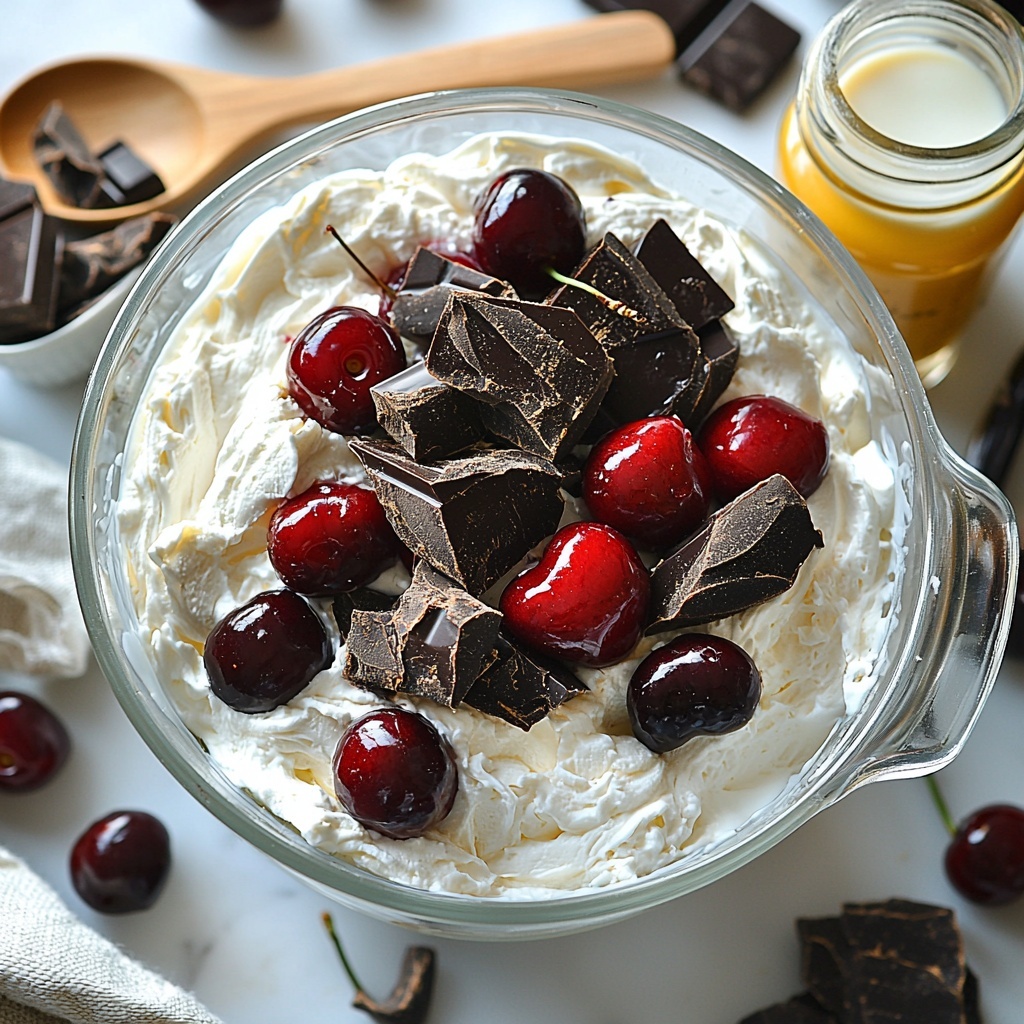
Next, gently add your sweetened condensed milk and vanilla extract into the whipped cream. Continue mixing on a low setting until everything is smoothly combined. This step is key to create that luscious, creamy texture while infusing the recipe with gentle sweetness and aromatic complexity.
Step 3: Add Mix-Ins
Fold in the chopped cherries and chunks of dark chocolate carefully to keep the whipped cream light and fluffy. It’s great to reserve a handful of cherries and chocolate to sprinkle on top later—they make for a beautiful finishing touch and an extra flavor burst.
Step 4: Freeze the Ice Cream
Transfer your ice cream mixture into a loaf pan or any freezer-safe container. Spread it out evenly, then sprinkle the reserved chocolate and cherries on top for that pretty, professional look. Cover tightly with plastic wrap or a lid and freeze for at least 5 to 6 hours, or until completely set.
Step 5: Serve and Enjoy
When you’re ready to indulge, let the ice cream sit at room temperature for a few minutes to soften slightly. Scoop it into bowls, cones, or create a gourmands’ dream by serving it alongside warm desserts. The texture will be smooth and creamy, with delightful bursts of chocolate and cherry in every bite.
How to Serve No-Churn Chocolate Cherry Ice Cream Recipe
Garnishes
Fresh cherries, shaved dark chocolate, or even a sprinkle of chopped nuts like toasted almonds or walnuts perfectly complement this ice cream. A drizzle of cherry syrup or chocolate sauce amps up the indulgence factor if you want to impress.
Side Dishes
This ice cream pairs wonderfully with classic desserts such as chocolate cake, warm brownies, or even a fresh fruit tart. It also shines beautifully on its own or alongside a crisp biscuit for a simple yet elegant dessert experience.
Creative Ways to Present
For a fun twist, serve scoops nestled inside chocolate-dipped waffle cones or create an ice cream sandwich by placing a scoop between two brownies or cookies. You could even layer it in parfait glasses with crushed cookies and cherry compote for a stunning layered dessert.
Make Ahead and Storage
Storing Leftovers
Store any leftover No-Churn Chocolate Cherry Ice Cream Recipe in an airtight container in the freezer. Properly sealed, it will keep its creamy texture and rich flavor for up to 3–4 days, making it perfect to enjoy over several indulgent moments.
Freezing
The key to a perfect no-churn ice cream is freezing it long enough for it to set fully but not so long that it becomes rock hard. Aim for at least 5 to 6 hours in the freezer. When stored correctly in a sealed container, it maintains its quality and softness for those 3–4 days.
Reheating
Technically, ice cream isn’t reheated, but allowing your No-Churn Chocolate Cherry Ice Cream Recipe to sit at room temperature for 5 to 10 minutes before scooping will make serving easier and ensure the ideal creamy texture without losing any of its rich flavors.
FAQs
Do I need an ice cream maker for this recipe?
Nope! This No-Churn Chocolate Cherry Ice Cream Recipe is designed to be simple and requires no ice cream maker at all. Whipping the cream and folding in the ingredients before freezing creates a beautifully smooth texture all on its own.
Can I use frozen cherries instead of fresh?
Absolutely! Frozen cherries work just fine—just be sure to thaw and drain them well before chopping and folding them into the mixture to avoid excess water diluting your ice cream.
Is there a substitute for sweetened condensed milk?
Sweetened condensed milk is key for the creamy texture and sweetness here. If you’re looking for alternatives, you could try homemade versions or sweetened evaporated milk, but results might vary slightly in texture and sweetness balance.
How can I make this recipe dairy-free?
For a dairy-free version, substitute whipping cream with coconut cream and use a dairy-free sweetened condensed milk alternative. The flavor profile will shift slightly, but it will still be wonderfully creamy and delicious.
Can I add other mix-ins besides cherries and chocolate?
Definitely! Feel free to experiment with your favorite fruits, nuts, or even swirls of caramel or fudge. Just keep the total amount of mix-ins around 1 to 1.5 cups to maintain the right balance.
Final Thoughts
This No-Churn Chocolate Cherry Ice Cream Recipe is such a joyful treat, combining simplicity and elegance in one irresistible package. It’s the perfect dessert to whip up on a whim or impress loved ones without stress. Once you make it, you’ll wonder why you ever bought ice cream from the store. So go ahead, give it a try—you won’t regret diving spoon-first into this creamy, fruity, chocolatey bliss.
Print
No-Churn Chocolate Cherry Ice Cream Recipe
- Prep Time: 15 minutes
- Cook Time: 0 minutes
- Total Time: 6 hours 15 minutes
- Yield: 6 servings
- Category: Dessert
- Method: No-Cook
- Cuisine: American
Description
This No-Churn Chocolate Cherry Ice Cream combines rich dark chocolate and juicy cherries in a creamy, homemade ice cream that requires no ice cream maker. Perfectly smooth and indulgent, it’s an easy-to-make dessert that freezes solid and melts delightfully in your mouth.
Ingredients
Ice Cream Base
- 16 oz carton whipping cream
- 10 oz can sweetened condensed milk
- 1 teaspoon vanilla extract
Mix-Ins
- 1 cup cherries, pitted and chopped or quartered
- 1 cup dark chocolate, chopped or chunks
Instructions
- Whip the cream: Using a hand or stand mixer, whip the cold whipping cream on medium-high speed until stiff peaks form. This will give your ice cream a light and airy texture.
- Incorporate ingredients: Slowly add the sweetened condensed milk and vanilla extract into the whipped cream, continuing to mix gently until everything is well combined without deflating the whipped cream.
- Add mix-ins: Gently fold in the chopped cherries and dark chocolate pieces using a spatula. Be careful to keep as much air in the mixture as possible for a smooth texture. Reserve some cherries and chocolate for topping.
- Freeze the ice cream: Pour the ice cream mixture evenly into a loaf pan. Sprinkle the remaining cherries and chocolate on top as garnish. Cover the pan tightly with plastic wrap or a lid and place it in the freezer. Freeze for 5 to 6 hours or until fully set.
- Serve: Remove the ice cream from the freezer about 5 minutes before serving to allow it to soften slightly. Scoop into bowls or cones and enjoy immediately for a creamy and refreshing treat.
Notes
- Make sure the whipping cream is cold for best whipping results.
- Use fresh or frozen cherries; if frozen, thaw and drain excess liquid before using.
- You can substitute dark chocolate with milk chocolate or chocolate chips according to preference.
- Store leftovers in an airtight container in the freezer for up to a week for optimal freshness.
- For an extra crunch, sprinkle chopped nuts or chocolate shavings on top before freezing.


