If you’ve ever wondered how to host a cookie exchange party (cookie swap guide) recipe that brings joy, warmth, and lots of delicious treats to your holiday gatherings, you’re in the right place. This is not just about swapping cookies; it’s about creating cherished memories, discovering new recipes, and making your seasonal festivities even more special. Whether you’re a seasoned hostess or trying this for the first time, this guide breaks down everything you need to turn your home into a festive cookie wonderland for friends and family to enjoy.

Ingredients You’ll Need
While this isn’t your typical recipe with flour or sugar, the ingredients for a successful cookie exchange party are simple yet crucial. Think of these as the foundational elements that put everyone at ease and spark excitement for the event ahead.
- A great date and time: Choosing when works best for your group sets the tone and ensures maximum attendance.
- Invitations: Clear, friendly invitations help guests feel welcome and informed about what to expect.
- Cookie guidelines: Simple rules to keep the swap organized and make sure there’s a good variety of treats.
- Decor and ambiance: Seasonal decorations and a curated playlist turn your space into a holiday haven.
- Supplies for serving and swapping: Platters, labels, napkins, and containers keep things neat and festive.
- Light refreshments and beverages: These complement the cookies and keep everyone energized between swaps.
- A spirit of fun and gratitude: The real secret ingredient that makes your party unforgettable.
How to Make How to Host a Cookie Exchange Party (Cookie Swap Guide) Recipe
Step 1: Choose a Date and Send Invitations
Select a date about two to three weeks before the major holidays to catch everyone in good spirits without the holiday rush. Sending invitations two weeks ahead allows guests plenty of time to prepare, and asking them to RSVP with their cookie choice helps you avoid duplicates, ensuring a deliciously diverse selection.
Step 2: Set Cookie Guidelines
Establish clear, simple guidelines to keep the event smooth. Request that guests bake one to two dozen cookies from scratch and bring printed or handwritten recipes for sharing. Encourage them to pre-portion cookies in small bags or boxes for easy swapping. Adding a theme—like classic holiday cookies, international flavors, or gluten-free options—adds a playful twist and encourages creativity.
Step 3: Prepare Your Space
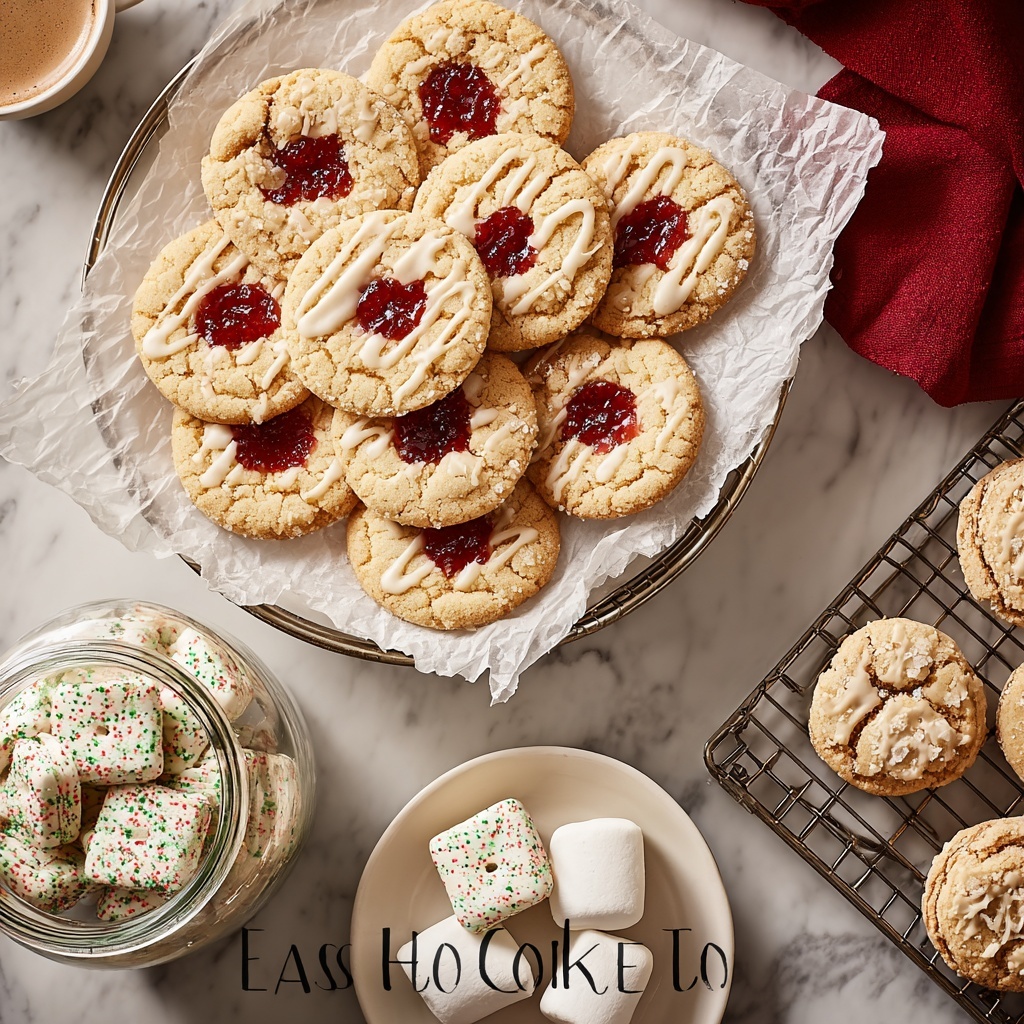
Designate a large table for cookie displays, complete with tent cards or labels for each variety, so everyone knows what they’re tasting. Deck the space out with festive decorations, twinkling lights, and a holiday playlist to set a cheerful atmosphere. Don’t forget to provide extra platters, tongs, napkins, and containers so guests can swap cookies comfortably and stylishly.
Step 4: Offer Beverages and Light Snacks
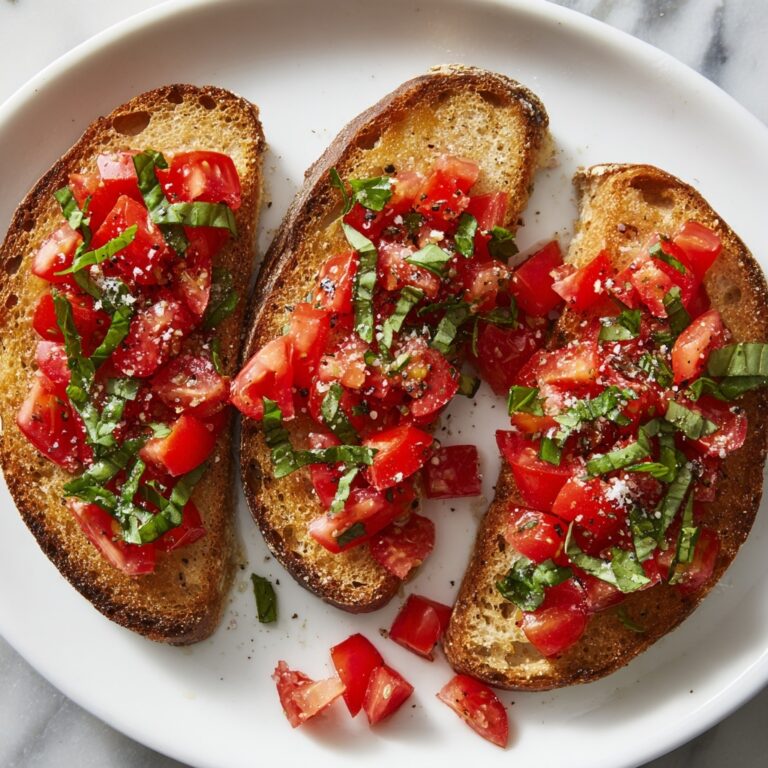
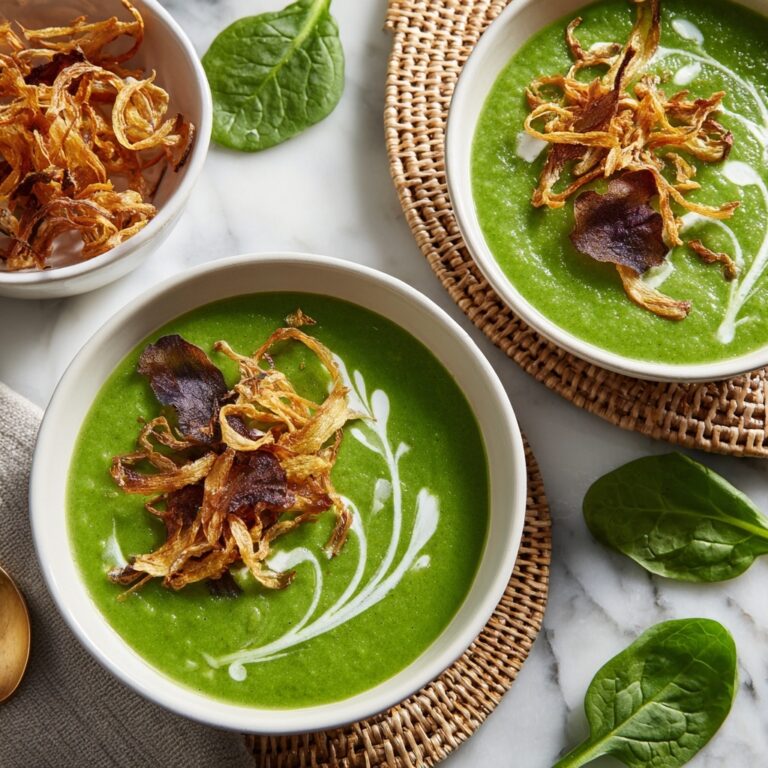
Balance the cookie sweetness with savory snacks like cheeses, crackers, or finger sandwiches. Warm beverages such as hot cocoa, apple cider, and coffee will keep everyone cozy and hydrated, and it’s a nice touch to keep water available as well to cleanse the palate.
Step 5: Organize the Cookie Swap
Kick off the swap by letting each guest describe their cookie and the story or recipe behind it. This adds a personal layer of connection and builds excitement. Decide together whether to do a free-for-all where everyone mingles and chooses cookies at will, or a structured round system with turn-taking or number draws, ensuring everyone walks away with a well-balanced assortment.
Step 6: Add Fun Extras
Elevate the party by giving out small prizes for fun categories like “Most Creative Cookie” or “Best Presentation.” A packaging station stocked with boxes, ribbons, and tags transforms cookie swapping into an art form, and sending everyone home with a printed or emailed recipe booklet makes your event memorable well beyond the day itself.
Step 7: Clean Up and Send Thanks
Plan for easy cleanup by placing garbage and recycling bins within reach to avoid clutter. Afterward, follow up with a heartfelt message thanking guests for their participation, perhaps including photos, shared recipes, and highlights from the party to keep the festive spirit alive.
How to Serve How to Host a Cookie Exchange Party (Cookie Swap Guide) Recipe
Garnishes
Though you’ll be serving cookies, consider simple garnishes to add elegance and extra flavor notes. Fresh sprigs of rosemary or mint, a dusting of powdered sugar, or small festive candies can highlight the holiday theme and make the cookie display truly eye-catching.
Side Dishes
Offer light savory sides to balance sweetness and keep guests comfortable. Cheese platters, mini sandwiches, or spiced nuts serve as perfect complements to the cookies, supporting longer conversations and sustained enjoyment during the swap.
Creative Ways to Present
Use tiered trays, vintage cake stands, or rustic wooden boards to showcase cookies beautifully. Providing labels with cookie names and allergy information adds professionalism and care. For an extra touch, consider themed packaging stations where guests can personalize the containers for their cookie haul.
Make Ahead and Storage
Storing Leftovers
Leftover cookies should be stored in airtight containers at room temperature to maintain freshness and texture. Sorting by cookie type can prevent flavor transfer, and placing a slice of bread inside can help keep them moist.
Freezing
If you want to keep cookies longer, many varieties freeze beautifully. Wrap batches tightly in plastic wrap then place them in freezer bags or containers. When you’re ready to enjoy, thaw at room temperature to preserve taste and texture.
Reheating
Most cookies are best enjoyed fresh but warming them slightly can refresh their softness and aroma. Pop them in a low oven or microwave for a few seconds—but be careful not to overheat and dry them out.
FAQs
Can I host a virtual cookie exchange party?
Absolutely! Virtual cookie exchanges have become a fun way to connect across distances. Ask guests to mail cookies ahead of time and schedule a video call where everyone can share recipes, stories, and reactions together.
What if some guests have food allergies?
It’s important to ask guests to label any common allergens like nuts, dairy, or gluten. Offering a few allergy-friendly cookie options yourself can also help everyone feel included and safe.
How do I avoid having too many similar cookies?
When sending invitations, ask guests to RSVP with their cookie type. You can gently steer participants toward different varieties or themes to encourage diversity.
What’s a good number of participants for this party?
A group of six to twelve people works well to keep the party intimate yet diverse enough to enjoy a wide variety of cookies without overwhelming your space or resources.
Should I provide all the packaging for the cookie swap?
Providing some packaging materials like bags, boxes, or ribbon is thoughtful and helps guests transport their cookies easily. Consider setting up a dedicated packaging station for fun and convenience.
Final Thoughts
Hosting a cookie exchange is truly a joyful way to celebrate friendship and festive flavors, and now you have everything you need on how to host a cookie exchange party (cookie swap guide) recipe. It’s a wonderful opportunity to share laughs, swap treasured family recipes, and create new holiday traditions. So gather your loved ones, set the table, and let the cookie magic begin!
Print
How to Host a Cookie Exchange Party (Cookie Swap Guide) Recipe
- Prep Time: 1–2 hours
- Cook Time: 0 minutes
- Total Time: Varies by event
- Yield: 1 party – best for 6 to 12 participants
- Category: Holiday Guide
- Method: No-Cook
- Cuisine: American
- Diet: Customizable
Description
This comprehensive guide details how to host a successful and festive cookie exchange party, perfect for the holiday season. It covers planning, setting guidelines, preparing the space, organizing the swap, and adding fun extras to create a memorable event where guests share and enjoy a variety of homemade cookies.
Ingredients
Ingredients
- Not applicable – this is an event planning guide, not a food recipe
Instructions
- Choose a Date and Send Invitations: Pick a date during the holiday season—ideally 2–3 weeks before major holidays when people are feeling festive but not overwhelmed. Send invitations at least two weeks in advance, and ask guests to RSVP with the type of cookie they plan to bring to avoid duplicates.
- Set Cookie Guidelines: To make it smooth and enjoyable, ask guests to bake 1–2 dozen homemade cookies, print or handwrite copies of their recipe or an ingredient list, and pre-portion their cookies for easy swapping (e.g., in small bags or boxes). Optionally, set a theme such as classic, international, or gluten-free for fun variety.
- Prepare Your Space: Set up a large table for displaying cookies with labels or tent cards for each type. Decorate with a seasonal theme using lights, garlands, and a holiday playlist. Provide extra platters, tongs, napkins, and containers to facilitate swapping.
- Offer Beverages and Light Snacks: Balance the sweetness with savory bites like cheese, crackers, or finger sandwiches. Offer warm drinks like hot cocoa, cider, or coffee, and keep water available too.
- Organize the Cookie Swap: Let each guest describe their cookie and recipe briefly. Choose a swapping method such as a free-for-all where everyone picks what they want, or structured rounds by small groups or drawing numbers. Ensure everyone leaves with an equal assortment of treats.
- Add Fun Extras: Have small prizes for categories like “Most Creative” or “Best Presentation,” include a packaging station with boxes, ribbon, and tags, and send everyone home with a printed or emailed recipe booklet of all cookies.
- Clean Up and Send Thanks: Have garbage and recycling bins nearby for easy cleanup. Thank guests for coming and follow up with a group message including cookie photos, recipes, or party highlights.
Notes
- For virtual cookie exchanges, have guests mail each other cookies and meet on video to share recipes and stories.
- Always ask guests to label any common allergens such as nuts, dairy, gluten, etc.
- Consider having a few allergy-friendly cookie options to accommodate all guests.

