
If you’re looking for a warm, comforting dish that feels like a hug on a plate, this Creamy Corn Pudding with Optional Cheese Recipe is your new best friend. It’s a luscious, custardy side dish packed with sweet corn, a gentle touch of sugar, and an optional cheesy richness that adds layers of flavor and melt-in-your-mouth texture. Whether you’re serving it alongside roast chicken, holiday ham, or just craving something cozy and satisfying, this corn pudding hits that perfect balance between creamy and golden, making it an absolute crowd-pleaser.
Ingredients You’ll Need
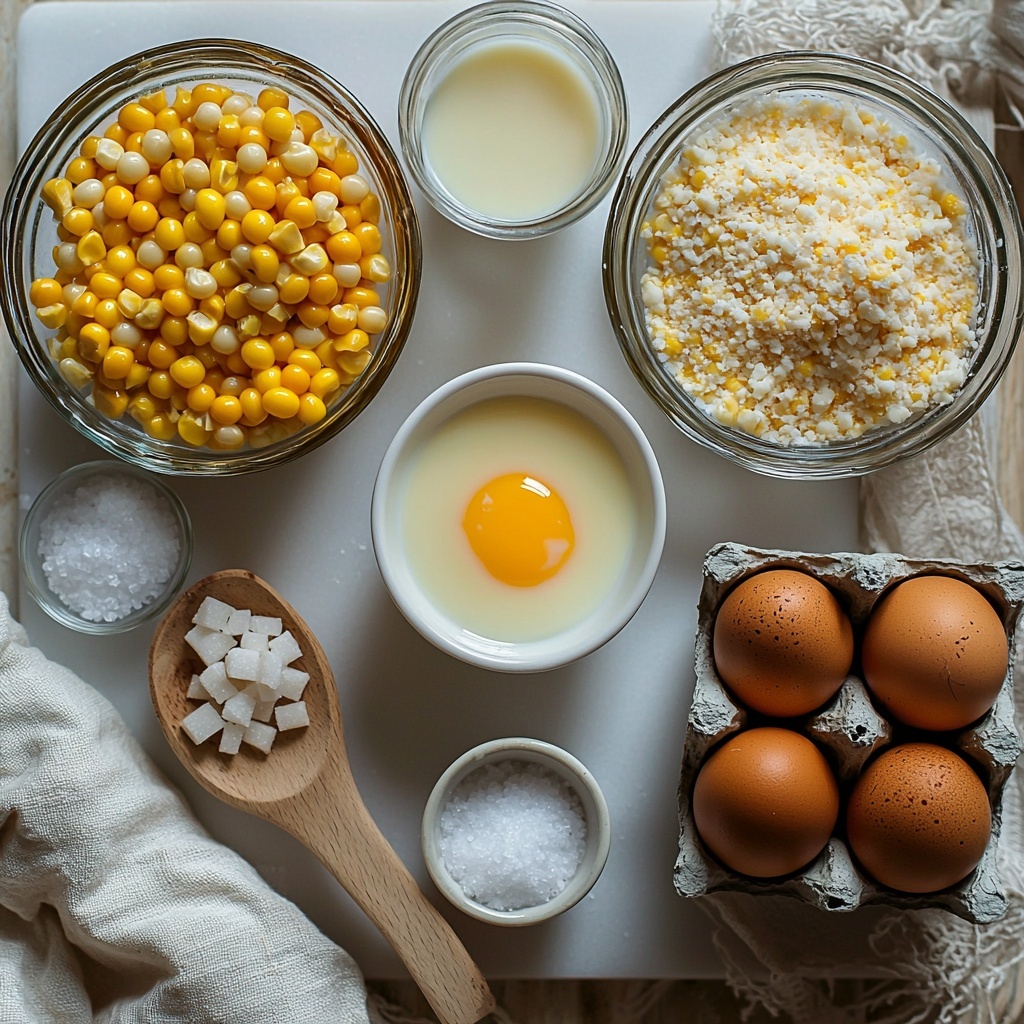
The beauty of this Creamy Corn Pudding with Optional Cheese Recipe lies in its simplicity. Each ingredient is essential, contributing to the dish’s irresistible texture and nuanced flavor while keeping everything straightforward and accessible.
- 2 cups corn kernels: Fresh or frozen corn gives the pudding its sweet, juicy base and delightful texture.
- 1 cup milk: Adds creaminess and helps create the custard-like consistency you’re aiming for.
- 3 eggs: The binding agents that transform the ingredients into a smooth, firm pudding once baked.
- 1/4 cup sugar: Just enough sweetness to complement the natural corn flavor without overpowering it.
- 1/4 cup melted butter: Brings richness and a silky mouthfeel to every bite.
- 1 teaspoon salt: Enhances all the flavors and balances the sweetness perfectly.
- 1 teaspoon baking powder: Helps the pudding puff slightly, giving it a lighter texture.
- 1/2 cup grated cheese (optional): Sharp or mild, this little addition boosts flavor complexity and gives the dish a lovely golden crust.
How to Make Creamy Corn Pudding with Optional Cheese Recipe
Step 1: Preheat and Prep
Start by heating your oven to 350°F (175°C). This even temperature ensures the pudding will bake gently, allowing the custard to set slowly without cracking or drying out. Don’t forget to grease your baking dish so the pudding slides right out after baking!
Step 2: Mix the Magic
In a large bowl, combine the corn kernels, milk, eggs, sugar, melted butter, salt, and baking powder. Stir everything together until it’s well blended and smooth. This simple mixture is where all the magic happens, blending sweetness and savoriness into one creamy base.
Step 3: Add the Cheese (Optional)
If you’re a fan of cheesy goodness, now is the time to stir in that grated cheese. It melts into the pudding while baking, offering bursts of creamy, savory flavor and a golden, slightly crispy top.
Step 4: Bake to Perfection
Pour the mixture into your prepared dish and bake it for 45 to 50 minutes. Keep an eye out for a lightly golden top and a set center that jiggles just slightly like a perfectly cooked custard. That’s your cue it’s ready to come out and cool.
Step 5: Cool and Serve
Let the pudding rest for a few minutes once out of the oven. This cooling step helps it firm up just enough to slice neatly and makes serving easier and more elegant.
How to Serve Creamy Corn Pudding with Optional Cheese Recipe
Garnishes
A sprinkle of fresh herbs like parsley or chives works wonders in adding a vibrant touch and a burst of freshness against the creamy pudding. For a bit of extra indulgence, a dollop of sour cream or a light drizzle of honey can elevate the dish beautifully.
Side Dishes
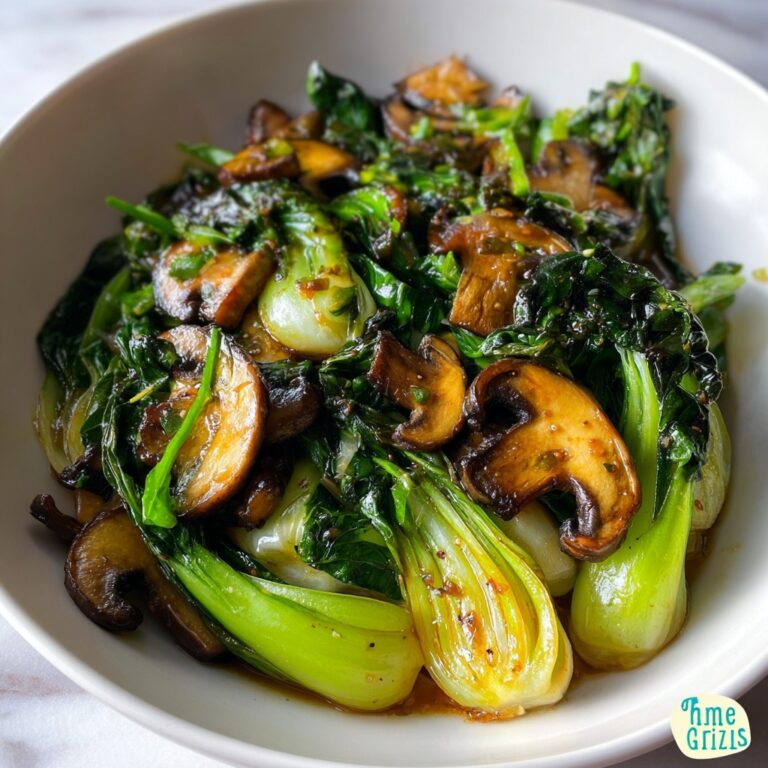
This corn pudding pairs perfectly with roasted meats like turkey, chicken, or pork, soaking up savory juices and balancing hearty flavors. It’s also great alongside a crisp green salad or sautéed greens, which bring contrast and crunch to your meal.
Creative Ways to Present
For a fun twist, try baking the pudding in individual ramekins for a special, personalized touch at the table. You can also fold in some diced jalapeños for a spicy kick or swirl in cooked bacon bits to add smoky depth.
Make Ahead and Storage
Storing Leftovers
Any leftover Creamy Corn Pudding with Optional Cheese Recipe will keep well when stored in an airtight container in the fridge for 3 to 4 days. Just make sure it’s cooled completely before sealing to maintain the best texture and flavor.
Freezing
This dish freezes quite nicely. Wrap it tightly with plastic wrap and aluminum foil or use a freezer-safe container. Freeze for up to 2 months. When you’re ready to enjoy it, thaw overnight in the fridge for best results.
Reheating
To reheat, pop the pudding into a preheated oven at 325°F (163°C) until warmed through—usually about 15 to 20 minutes. Reheating in the oven helps to preserve that lovely creamy texture and golden top much better than a microwave.
FAQs
Can I use canned corn for this recipe?
Absolutely! Just be sure to drain it well to prevent excess moisture from making the pudding too runny. Fresh or frozen corn tend to give the best texture, but canned corn works in a pinch.
What type of cheese works best in this recipe?
Cheddar is a classic choice and gives a nice sharp flavor, but feel free to experiment with Monterey Jack, Gruyère, or even a mild mozzarella for a different twist. The cheese adds richness and a lovely crust when baked.
Is this recipe gluten-free?
Yes, it is naturally gluten-free since it does not contain any wheat or flour. Just be sure your baking powder is labeled gluten-free, as some brands can have traces of gluten.
Can I make this dish vegan or dairy-free?
To make it vegan, you would need to substitute the milk, butter, eggs, and cheese with plant-based alternatives like almond milk, vegan butter, flax eggs, and vegan cheese. Keep in mind, the texture and flavor will be different but still delicious!
How do I know when the corn pudding is done baking?
The pudding is done when it’s set around the edges and slightly jiggly in the center, with a lightly golden top. A knife inserted should come out clean or with just a few moist crumbs.
Final Thoughts
This Creamy Corn Pudding with Optional Cheese Recipe is a genuine crowd-pleaser with its comforting texture and balanced flavors. Whether you stick to the classic version or add cheese for extra indulgence, it’s incredibly easy to prepare and versatile enough to brighten any meal. Give it a try—you might just find that it becomes a new staple in your recipe rotation for cozy family dinners or holiday gatherings!
Print
Creamy Corn Pudding with Optional Cheese Recipe
- Prep Time: 15 minutes
- Cook Time: 45-50 minutes
- Total Time: 1 hour 5 minutes
- Yield: 6 servings
- Category: Side Dish
- Method: Baking
- Cuisine: American
Description
This classic Corn Pudding recipe is a creamy, comforting side dish perfect for any meal. Made with fresh corn kernels, milk, eggs, and a touch of sweetness, it’s baked to a golden perfection and can be enhanced with melted butter and optional cheese for added richness. Ideal for family dinners or holiday gatherings, it offers a smooth, custard-like texture with a subtle, sweet corn flavor.
Ingredients
Corn Pudding Ingredients
- 2 cups corn kernels
- 1 cup milk
- 3 eggs
- 1/4 cup sugar
- 1/4 cup melted butter
- 1 teaspoon salt
- 1 teaspoon baking powder
- 1/2 cup grated cheese (optional)
Instructions
- Preheat Oven: Preheat your oven to 350°F (175°C) to ensure it reaches the correct temperature before baking the pudding.
- Mix Ingredients: In a large bowl, combine the corn kernels, milk, eggs, sugar, melted butter, salt, and baking powder. Stir well until all ingredients are fully incorporated.
- Add Cheese (Optional): If using cheese, gently fold it into the mixture to evenly distribute the flavors.
- Prepare Baking Dish: Grease a baking dish thoroughly with butter or non-stick spray to prevent sticking.
- Pour Mixture: Pour the combined corn pudding mixture into the prepared baking dish, spreading evenly.
- Bake: Place the dish in the oven and bake for 45-50 minutes, or until the pudding is set and the top is lightly golden brown.
- Cool and Serve: Remove from the oven and let the pudding cool slightly before serving to allow it to firm up.
Notes
- Using fresh corn kernels will enhance the flavor, but frozen corn can be used as well.
- Adjust sugar based on your preference for sweetness; you can reduce for a less sweet dish.
- Omitting cheese will yield a lighter pudding, suitable for those avoiding dairy fat.
- Butter can be substituted with a neutral oil for a different flavor profile.
- Ensure the baking dish is adequately greased to avoid sticking and easy serving.
- Let the pudding cool to enable it to set properly for easy slicing and serving.


