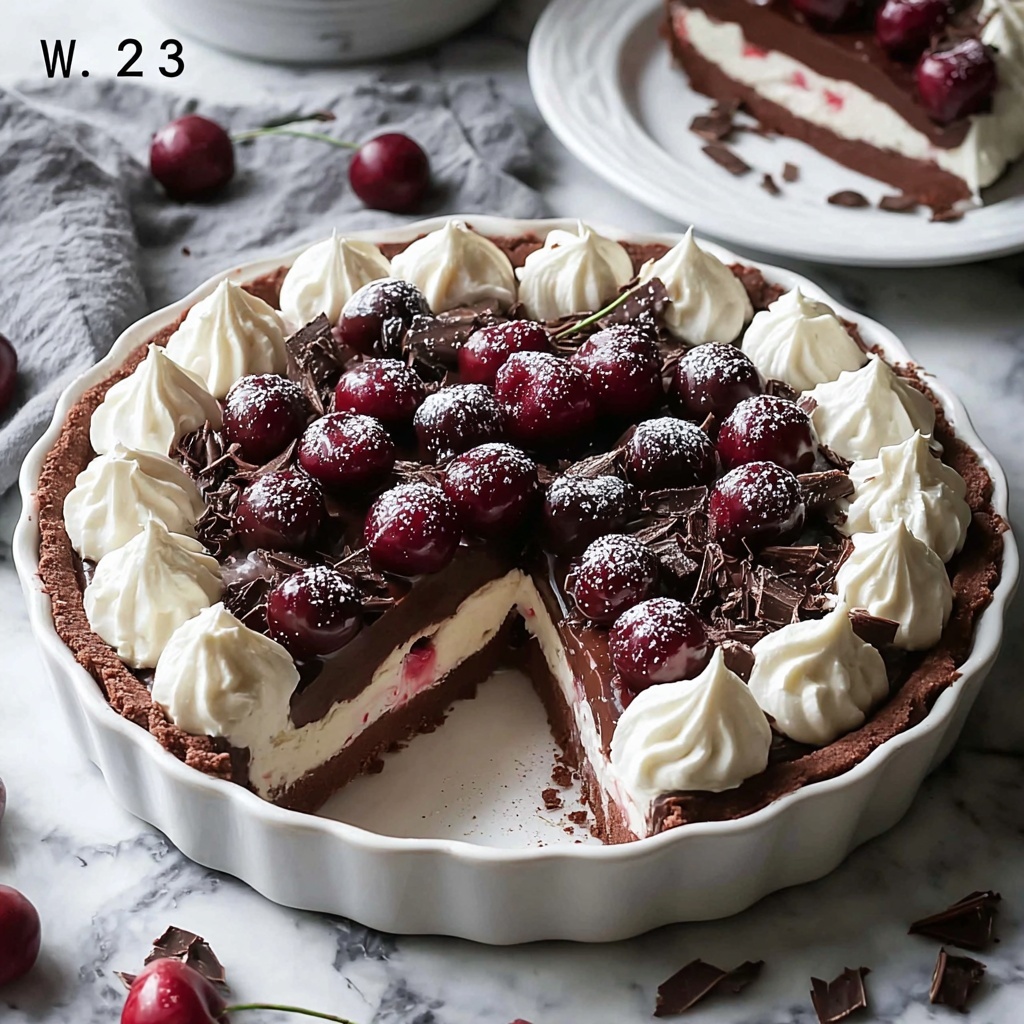
If you have a sweet tooth and love a perfect blend of rich chocolate and vibrant cherry flavors, the Chocolate Cherry Cream Pie Recipe is about to become your new favorite indulgence. This dessert combines a crisp chocolate cookie crust with fluffy, sweetened whipped cream and luscious cherry pie filling, creating a harmonious balance of textures and tastes that’s as beautiful to look at as it is delightful to eat.
Ingredients You’ll Need
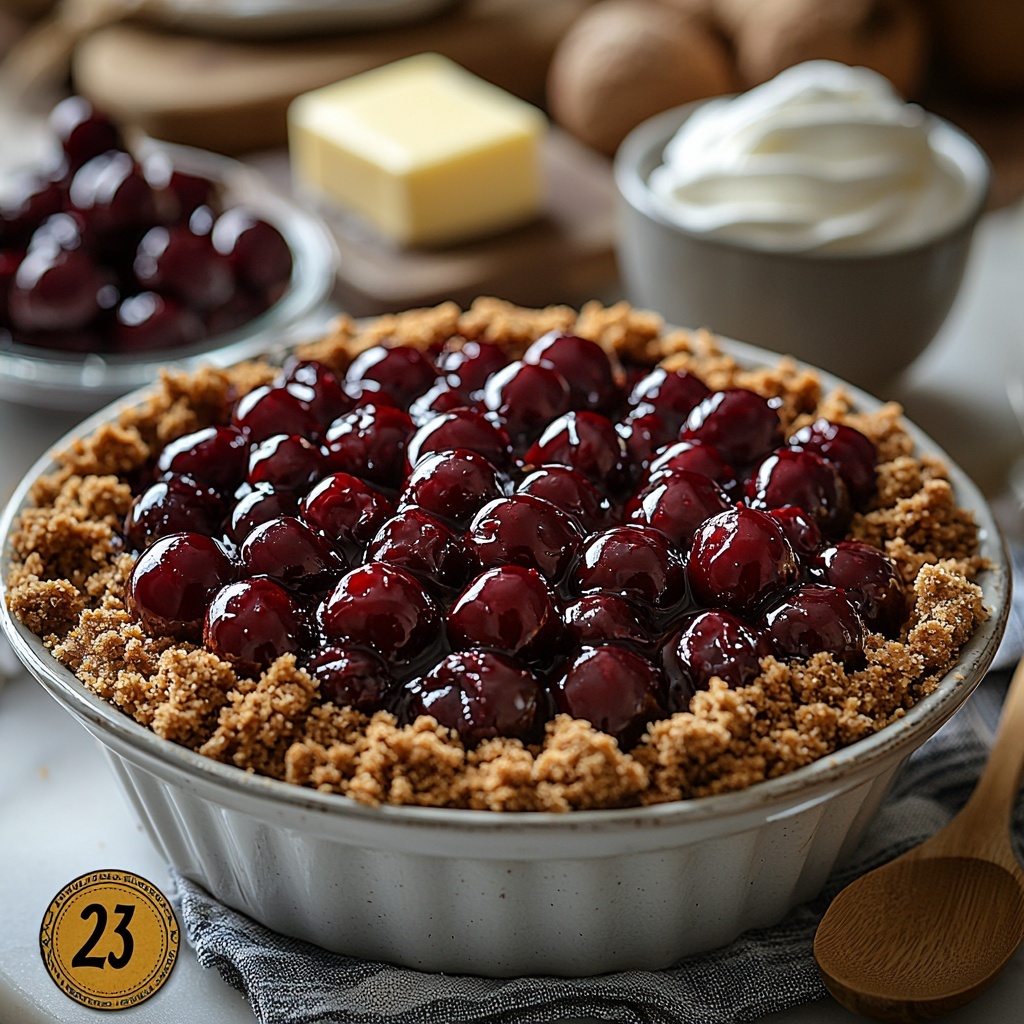
Getting started with this pie is a breeze thanks to a handful of simple yet essential ingredients. Each one plays a crucial role, from building the sturdy chocolate crust to creating the light and creamy filling with a burst of cherry sweetness.
- Chocolate cookie crumbs: These provide that rich, chocolaty base with a slightly crunchy texture that holds the pie together perfectly.
- Unsalted butter: Melted butter binds the cookie crumbs, giving the crust a luscious, buttery richness and firmness.
- Heavy whipping cream: The star for making the fluffy and airy whipped cream layer, adding smoothness and volume.
- Powdered sugar: Sweetens the whipped cream gently without compromising the light texture, blending smoothly.
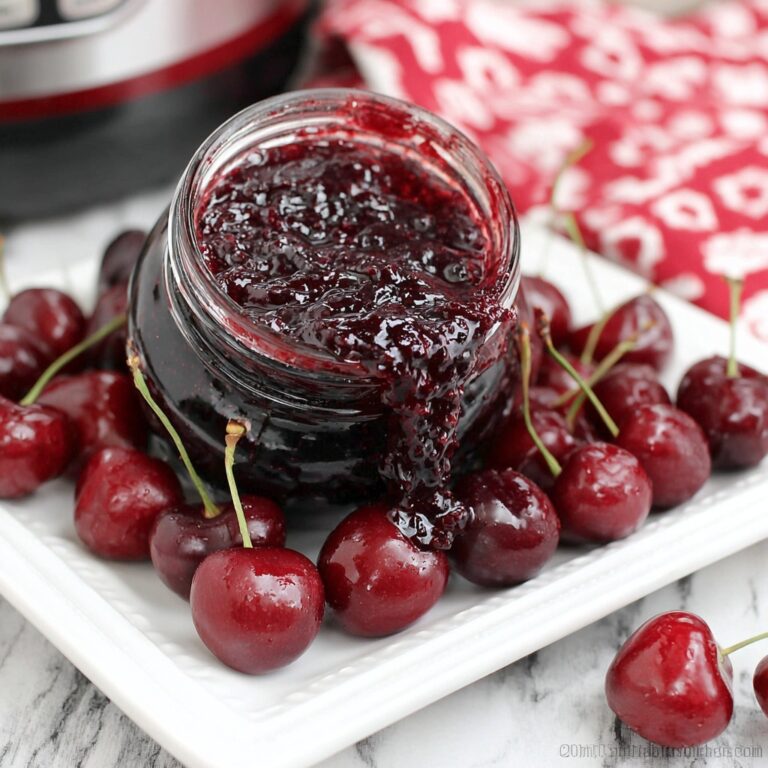
- Cherry pie filling (or pitted cherries): Adds a vibrant pop of flavor and brightens the entire pie, balancing the chocolate with its natural tartness and sweetness.
How to Make Chocolate Cherry Cream Pie Recipe
Step 1: Create the Chocolate Cookie Crust
Start by mixing your chocolate cookie crumbs with the melted unsalted butter until you get an even, crumbly texture that feels like wet sand. This mixture forms the base and sides of your pie, so be sure to press it firmly into a 9-inch pie pan to create a sturdy crust. Pop it in the fridge for at least 30 minutes; chilling helps the crust hold its shape and sets the stage for the creamy layers to come.
Step 2: Whip Up the Creamy Filling
Next, take a large bowl and beat the heavy whipping cream until soft peaks begin to form, which means the cream holds its shape but still looks smooth. Slowly add in the powdered sugar, paying close attention as you continue whipping until you’ve reached stiff peaks where the cream stands rigid and glossy. This light, sweetened whipped cream will lend that melt-in-your-mouth texture that makes this pie so irresistible.
Step 3: Assemble the Layers
Grab your chilled crust and spread a generous layer of the whipped cream evenly across the bottom. Now, spoon the cherry pie filling on top of this creamy layer, distributing those juicy cherries evenly so every bite has a burst of flavor. For an extra treat, add another layer of whipped cream or some chocolate shavings on top—it’s the perfect finishing touch that makes this pie look straight out of a bakery.
Step 4: Chill and Serve
Finally, refrigerate your assembled Chocolate Cherry Cream Pie Recipe for at least 2 hours or until it’s fully set. This chilling step is key to marrying the flavors and giving the pie a firm yet creamy consistency. When ready, slice and serve chilled to enjoy the perfect combination of chocolate, cream, and cherry in every bite.
How to Serve Chocolate Cherry Cream Pie Recipe
Garnishes
A sprinkle of dark chocolate shavings or curls on the top adds elegance and extra chocolate flavor, beautifully contrasting the glossy cherries. Fresh cherries or a dusting of cocoa powder can also make your pie pop on the table and invite admiration before the first bite.
Side Dishes
This pie is a showstopper on its own, but if you want to round out your dessert experience, serve it alongside a scoop of vanilla ice cream or a small bowl of fresh berries. The cold creaminess and fresh fruit lift the flavors, complementing the richness of the chocolate and the tartness of the cherries.
Creative Ways to Present
Try serving individual slices on pretty dessert plates with a drizzle of chocolate or cherry sauce for a restaurant-style presentation. You could also arrange mini versions in small dessert cups layered with extra cherries for a fun party treat that still features all the magic of the full pie.
Make Ahead and Storage
Storing Leftovers
If you’re fortunate enough to have leftovers, wrap them tightly with plastic wrap or store the pie in an airtight container and keep it refrigerated. This preserves the cream’s texture and keeps the chocolate crust from going soggy, allowing you to enjoy it fresh for up to 3 days.
Freezing
While this pie is delightful fresh, freezing is not recommended because the whipped cream and cherry filling can separate and become watery after thawing, which affects the texture and flavor negatively.
Reheating
This chilled dessert is best enjoyed cold, so reheating is not necessary nor advised. Keep it refrigerated and serve directly from the fridge to enjoy the fresh, creamy goodness every time.
FAQs
Can I use fresh cherries instead of cherry pie filling?
Absolutely! Pitted fresh cherries can be used if you prefer a less sweet filling and a fresher texture, though you might want to add a little sugar or a glaze to mimic the pie filling’s syrupy consistency.
Is it necessary to chill the crust before adding the filling?
Yes, chilling the crust helps it to firm up and hold the filling more effectively, preventing it from getting soggy and ensuring a crisp, delicious base for your pie.
Can I substitute the chocolate cookie crumbs with something else?
While chocolate cookie crumbs give the signature rich flavor, you can substitute with crushed chocolate graham crackers or even Oreos without filling for a slightly different but still tasty crust.
How long does the pie keep in the fridge?
Once assembled, the Chocolate Cherry Cream Pie Recipe can be refrigerated and enjoyed for up to 3 days while maintaining its best texture and flavor.
Can I make this pie vegan or dairy-free?
To make a vegan or dairy-free version, you can find plant-based whipped cream alternatives and vegan butter to use in the crust. Look for cherry pie filling free from gelatin or animal products to keep it completely vegan-friendly.
Final Thoughts
There is something truly special about digging into a slice of this Chocolate Cherry Cream Pie Recipe—the marriage of creamy, chocolaty, and fruity elements makes it a dessert you’ll want to keep coming back to. Whether for a special occasion or a simple treat to brighten your day, I can’t recommend giving this all-time favorite a try enough. You might just find yourself baking it again and again!
Print
Delicious Recipe
- Prep Time: 15 minutes
- Cook Time: 0 minutes
- Total Time: 2 hours 15 minutes
- Yield: 8 servings
- Category: Dessert
- Method: No-Cook
- Cuisine: American
Description
This rich and creamy Chocolate Cherry Cream Pie features a decadent chocolate cookie crumb crust filled with fluffy whipped cream and topped with sweet cherry pie filling. Perfect for any occasion, this no-bake dessert combines luscious chocolate and fruity cherries for a delightful treat that’s as beautiful as it is delicious.
Ingredients
For the Crust
- 1 ½ cups chocolate cookie crumbs
- ½ cup unsalted butter, melted
For the Filling
- 1 cup heavy whipping cream
- 1 cup powdered sugar
- 1 to 1½ cups cherry pie filling or pitted cherries
Instructions
- Make the Crust: In a bowl, combine the chocolate cookie crumbs and melted unsalted butter. Mix thoroughly until the crumbs are evenly coated and the mixture resembles wet sand.
- Press into Pie Pan: Firmly press the crumb mixture into the bottom and up the sides of a 9-inch pie pan to form the crust. Make sure the crust is evenly packed for stability. Chill the crust in the refrigerator for at least 30 minutes to set and firm up before adding the filling.
- Prepare the Whipped Cream: In a large mixing bowl, beat the heavy whipping cream with an electric mixer until soft peaks form. Gradually add the powdered sugar and continue whipping until stiff peaks form, ensuring a fluffy and sweet whipped cream layer.
- Assemble the Pie: Spread a generous layer of the prepared whipped cream evenly into the chilled cookie crust, creating a smooth base for the cherry topping.
- Add Cherry Filling: Spoon the cherry pie filling evenly over the whipped cream layer. If using pitted cherries, ensure they are sweetened and thickened for best texture.
- Optional Topping: For added indulgence, you can top the cherry layer with more whipped cream or sprinkle chocolate shavings to enhance both appearance and flavor.
- Chill and Serve: Refrigerate the assembled pie for at least 2 hours, allowing all layers to set properly. Once chilled, slice and serve the pie cold for a refreshing and creamy dessert experience.
Notes
- Chill the crust thoroughly to prevent it from becoming soggy when adding the whipped cream and cherry filling.
- If you prefer fresh cherries, make sure to cook them down slightly with sugar to mimic the texture of pie filling.
- For best results, whip the cream just until stiff peaks form to avoid over-whipping and curdling.
- Store leftovers covered in the refrigerator for up to 3 days to maintain freshness.
