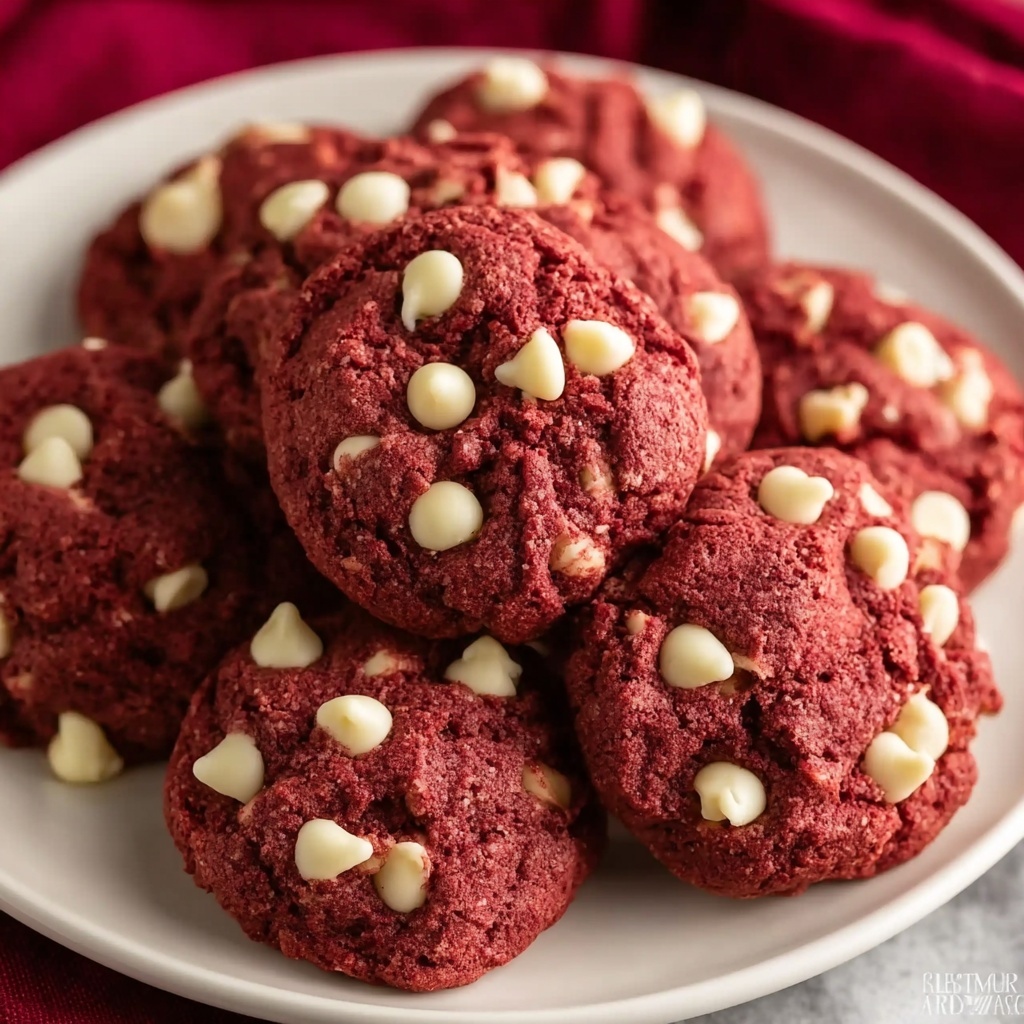
If you have a hankering for a cookie that’s bursting with bold flavor, gorgeous color, and that perfect soft yet chewy bite, you’re going to adore this Chewy Red Velvet Cookies with White Chocolate Chips Recipe. These cookies bring together the classic allure of red velvet cake and the melty sweetness of white chocolate chips, creating a treat that feels both nostalgic and completely fresh. Their rich, tender texture and those little pockets of creamy white chocolate make every bite pure bliss, perfect for sharing with friends or keeping all to yourself on a cozy afternoon.
Ingredients You’ll Need
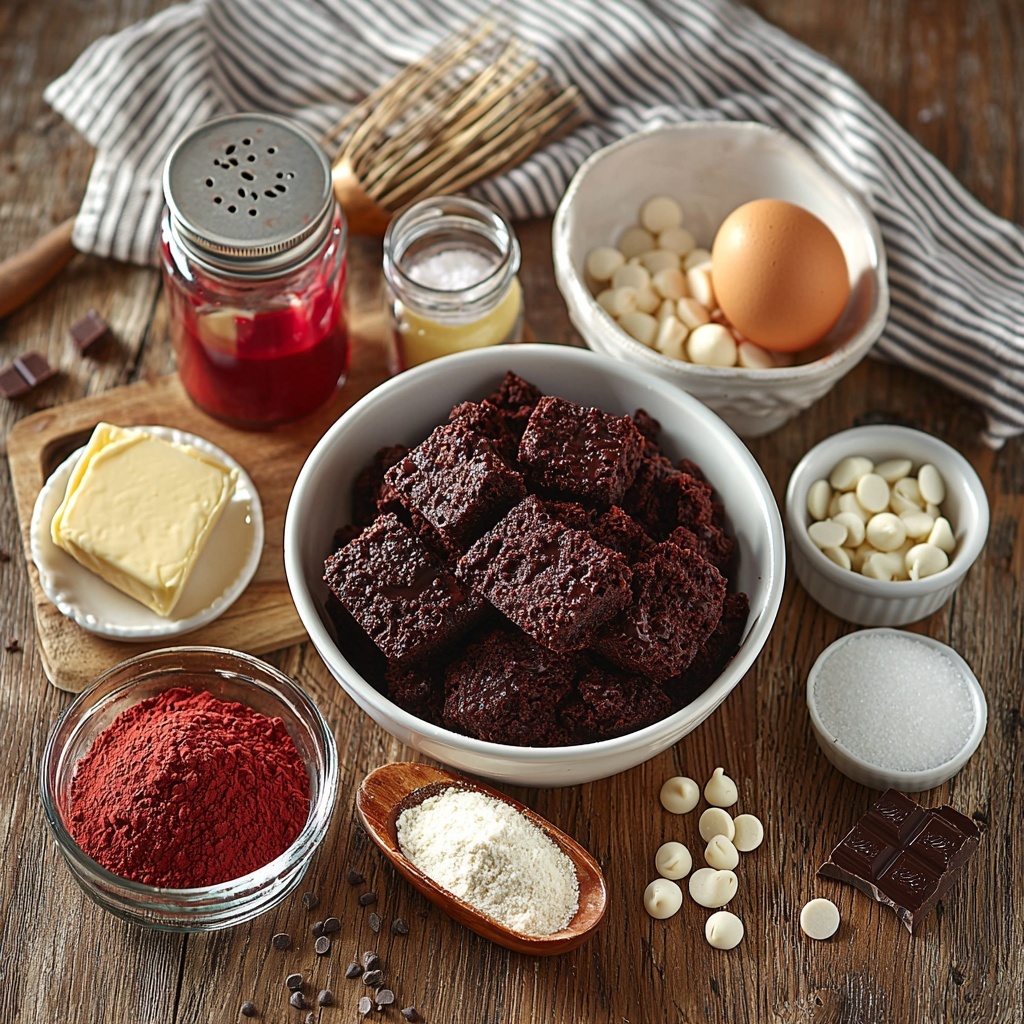
Getting the ingredients right is the first step to baking cookies that truly sing. Each one in this list plays a key role, from providing structure and flavor to that stunning red hue that makes these cookies pop. You’ll see how accessible pantry staples combined with a splash of special touches lift these treats to something memorable.
- All-purpose flour: The backbone of your cookie dough, giving structure and chewiness.
- Unsweetened cocoa powder: Just enough for that subtle chocolate undertone without overpowering the red velvet flavor.
- Baking soda: Helps your cookies rise slightly and keeps them tender.
- Salt: Enhances all the other flavors, balancing sweetness perfectly.
- Unsalted butter, softened: Provides richness and moisture for an irresistibly soft texture.
- Granulated sugar: Adds crispness to the edges and sweetness.
- Light brown sugar: Brings a hint of caramel depth and chewiness to the cookies.
- Large egg + egg yolk: Eggs bind everything together and contribute to the chewy texture.
- Vanilla extract: Adds warmth and a subtle sweet aroma to complement the red velvet taste.
- Red gel food coloring: Gives that signature vibrant red color without thinning the dough.
- White chocolate chips: Melt-in-your-mouth pockets of creamy sweetness to contrast the cocoa.
How to Make Chewy Red Velvet Cookies with White Chocolate Chips Recipe
Step 1: Preheat and Prep
First things first, preheat your oven to 350°F (175°C). Line two baking sheets with parchment paper to ensure your cookies bake evenly and come off easily once they’re done. This little prep work helps get everything off to a great start.
Step 2: Combine the Flour Mixture
In a medium bowl, whisk together the all-purpose flour, unsweetened cocoa powder, baking soda, and salt. This dry mix ensures the cocoa and leavening agents are well-distributed throughout the dough, which is crucial for even flavor and texture.
Step 3: Cream the Butters and Sugars
In a large bowl, use an electric mixer to cream the softened unsalted butter with both granulated and light brown sugars. Do this for about two minutes until the mixture becomes light, fluffy, and heavenly aromatic — this step introduces air that will give your cookies a beautiful lift and texture.
Step 4: Add Wet Ingredients and Color
Next, beat in the large egg, the extra egg yolk (this little extra helps make the cookies chewy), vanilla extract, and the vibrant red gel food coloring. Mix until everything is smoothly blended and that gorgeous red color is uniform across the dough — no streaks allowed here!
Step 5: Bring Dry and Wet Ingredients Together
Now it’s time to gradually add your dry flour mixture to the wet ingredients. Mix on low speed just until combined; overmixing can make the cookies tough instead of tender and chewy, so less is more at this point.
Step 6: Fold in White Chocolate Chips
Gently fold white chocolate chips into the dough with a spatula, making sure they’re evenly scattered throughout. These little gems will melt beautifully during baking and add that signature sweet surprise in every bite.
Step 7: Scoop the Cookies
Using about 2 tablespoons of dough for each cookie, scoop and place them onto your lined baking sheets. Keep them spaced roughly 2 inches apart to allow room for spreading while baking.
Step 8: Bake to Perfection
Pop the trays in the oven and bake for 10 to 12 minutes. Watch for edges that are set and centers that still look slightly soft — that’s your cue they’re done. This bake time is key for achieving that dreamily chewy texture.
Step 9: Cool and Enjoy
Allow the cookies to cool on the baking sheets for about 5 minutes before moving them to wire racks to cool completely. This resting time lets them set perfectly without drying out.
How to Serve Chewy Red Velvet Cookies with White Chocolate Chips Recipe
Garnishes
For an extra touch of elegance, sprinkle a few coarse sugar crystals or white chocolate shavings on top right after baking. This gives a subtle sparkle and an extra bit of crunch that contrasts beautifully with the chewy cookie.
Side Dishes
Pair these cookies with a cold glass of milk, a dollop of whipped cream, or even a scoop of vanilla bean ice cream. The creamy sides complement the warm spices in the red velvet flavor while balancing the sweetness of the white chocolate chips.
Creative Ways to Present
Try stacking these cookies with a layer of cream cheese frosting spread between them for a red velvet cookie sandwich. Or serve them on a platter adorned with fresh raspberries and mint leaves for a festive occasion. These little presentation tweaks can turn your homemade treats into showstoppers at any gathering.
Make Ahead and Storage
Storing Leftovers
Keep leftover cookies in an airtight container at room temperature for up to five days. This helps maintain their classic chewy texture and prevents them from drying out while keeping the flavors fresh.
Freezing
If you want to enjoy these cookies later, freeze them in a single layer on a baking sheet first. Once frozen, transfer them to a sealed freezer bag or container. They’ll stay delicious for up to three months and thaw quickly when you’re ready for a sweet treat.
Reheating
To bring back that just-baked warmth and chewiness, pop a cookie in the microwave for about 10 seconds or warm them briefly in a 300°F oven. This simple trick revives their soft texture and melts the white chocolate chips just right.
FAQs
Can I use regular food coloring instead of gel for the Chewy Red Velvet Cookies with White Chocolate Chips Recipe?
While regular liquid food coloring can work, gel food coloring is recommended because it provides vibrant color without adding extra liquid, which can change the dough’s consistency and texture.
What makes these cookies chewy instead of cakey?
The combination of brown sugar, extra egg yolk, and baking time all contribute to that chewy texture. Brown sugar adds moisture and softness, while the additional egg yolk enriches the dough and helps retain chewiness.
Can I substitute white chocolate chips with another type?
Absolutely! You can swap white chocolate chips for semi-sweet or dark chocolate chips, but the classic sweet balance of the recipe pairs best with white chocolate. Nuts or dried fruits can be tried, but expect a different texture and flavor profile.
How should I measure the flour for best results?
To avoid dense cookies, spoon the flour into your measuring cup and level it off with a knife instead of scooping directly from the bag. This prevents packing the flour too tightly, which can make cookies heavy.
Can I make the dough ahead of time?
Yes! The dough can be refrigerated for up to 24 hours before baking. Chilling helps deepen the flavors and makes the dough easier to handle when scooping.
Final Thoughts
This Chewy Red Velvet Cookies with White Chocolate Chips Recipe is a true celebration of flavor and texture that’s easy enough for any home baker to whip up and enjoy. Whether you’re baking for a special occasion or just because, these cookies bring joy with every bite. Give this recipe a try—you just might find your new favorite cookie!
Print
Chewy Red Velvet Cookies with White Chocolate Chips Recipe
- Prep Time: 15 minutes
- Cook Time: 12 minutes
- Total Time: 27 minutes
- Yield: About 24 cookies
- Category: Dessert, Cookies
- Method: Baking
- Cuisine: American
Description
These Chewy Red Velvet Cookies with White Chocolate Chips are a delightful twist on classic red velvet cake, offering a soft, chewy texture and rich flavor with a pop of sweetness from creamy white chocolate chips. Perfect for festive occasions or whenever you’re craving a decadent treat.
Ingredients
Dry Ingredients
- 2 cups all-purpose flour
- 2 tablespoons unsweetened cocoa powder
- 1 teaspoon baking soda
- 1/2 teaspoon salt
Wet Ingredients
- 1 cup unsalted butter, softened
- 1 cup granulated sugar
- 1/2 cup packed light brown sugar
- 1 large egg
- 1 egg yolk
- 2 teaspoons vanilla extract
- 2 tablespoons red gel food coloring
Add-ins
- 1 cup white chocolate chips
Instructions
- Preheat Oven: Preheat your oven to 350°F (175°C) and prepare two baking sheets by lining them with parchment paper to prevent sticking and promote even baking.
- Mix Dry Ingredients: In a medium-sized bowl, whisk together the all-purpose flour, unsweetened cocoa powder, baking soda, and salt to ensure all dry ingredients are evenly blended.
- Cream Butter and Sugars: Using an electric mixer, cream the softened unsalted butter with granulated sugar and light brown sugar until the mixture becomes light and fluffy, which should take about 2 minutes. This step incorporates air for a tender texture.
- Add Wet Ingredients: Beat in the whole egg, egg yolk, vanilla extract, and red gel food coloring until the mixture is smooth and the color is evenly distributed throughout the dough.
- Combine Dry and Wet Ingredients: Gradually add the dry mixture to the wet ingredients, mixing on low speed just until combined. Avoid overmixing to keep the cookies tender and chewy.
- Fold in White Chocolate Chips: With a spatula, gently fold the white chocolate chips into the dough, making sure they are evenly dispersed without breaking them up.
- Scoop Dough: Using a cookie scoop or spoon, place approximately 2 tablespoons of dough per cookie onto the prepared baking sheets, spacing each cookie about 2 inches apart to allow for spreading.
- Bake Cookies: Bake in the preheated oven for 10 to 12 minutes, or until the edges are set but the centers still look slightly soft, indicating a chewy texture.
- Cool Cookies: Let the cookies cool on the baking sheets for about 5 minutes to firm up before transferring them to a wire rack to cool completely.
Notes
- For best results, use unsalted butter at room temperature to achieve the perfect creamy consistency when creaming with sugar.
- Red gel food coloring is preferred over liquid to achieve a vibrant color without altering the dough consistency.
- Do not overmix the dough after adding dry ingredients; overmixing can develop gluten and make cookies tough.
- Spacing cookies adequately on the baking sheet allows them to spread evenly without merging.
- Allowing cookies to cool on the baking sheet before transferring prevents breakage since cookies are delicate when hot.
- Store cookies in an airtight container at room temperature for up to 4 days or freeze for longer storage.


