“`html
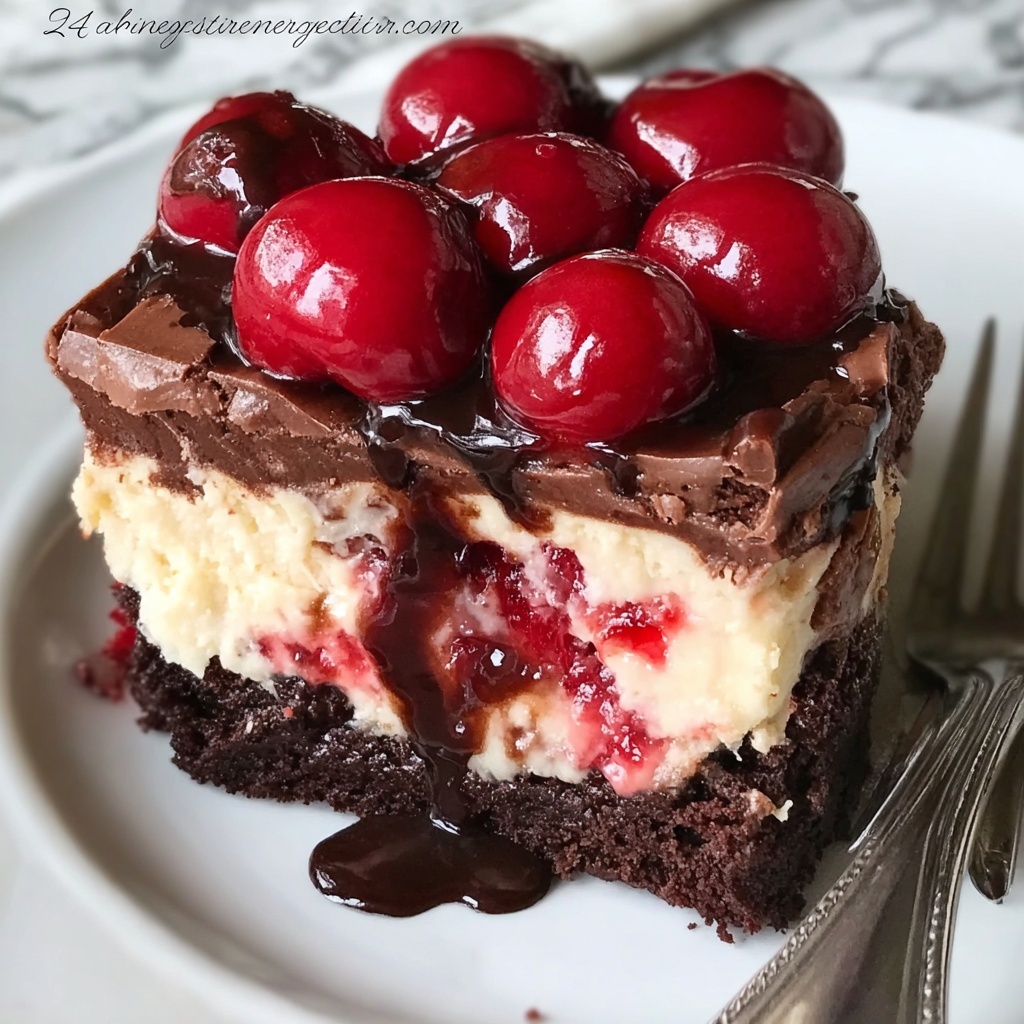
If you have a sweet tooth that loves a little twist, then this Cherry Cheesecake Brownies Recipe is about to become your new favorite treat. Imagine fudgy, rich brownies layered with a smooth, creamy cheesecake swirl and bursts of luscious cherry pie filling in every bite—pure magic in dessert form. These brownies are perfect for any occasion, delivering a perfect balance of chocolate, creaminess, and fruity zing that will have everyone reaching for seconds.
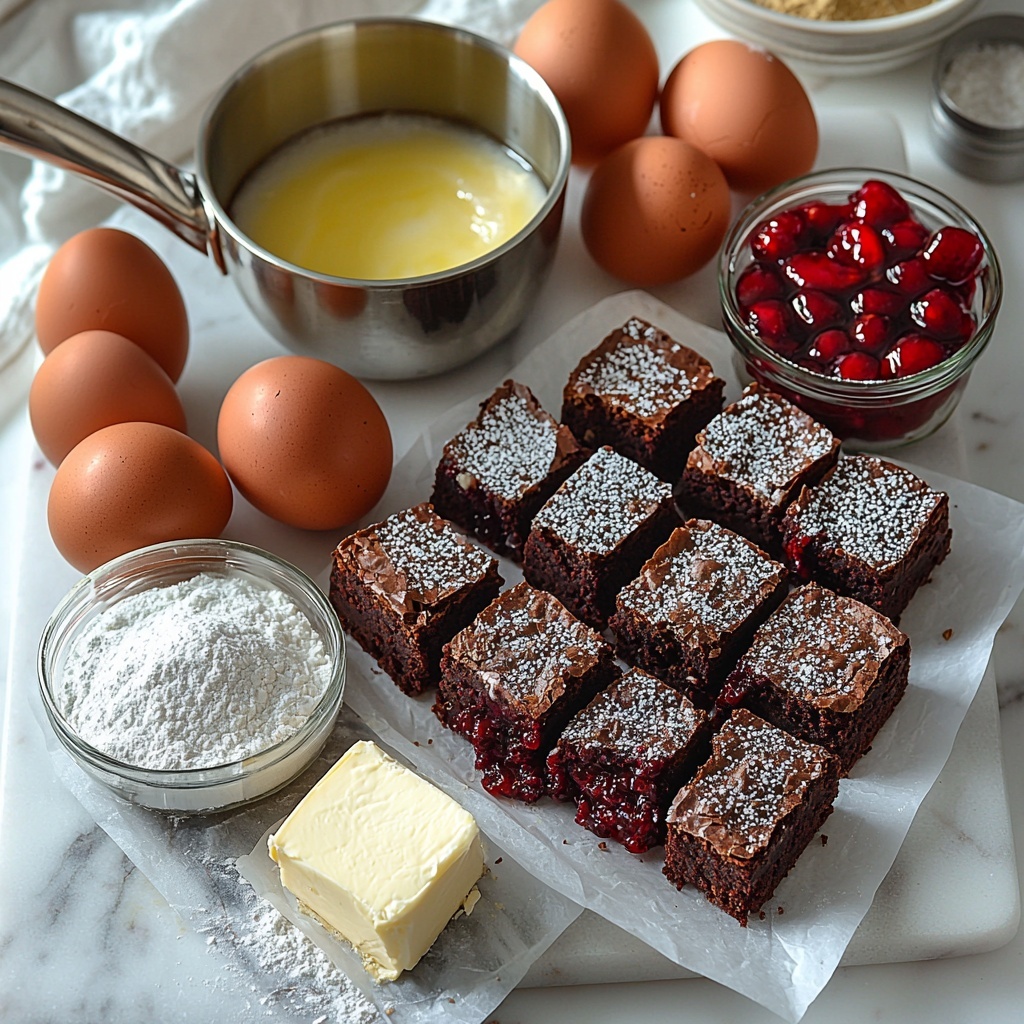
Ingredients You’ll Need
This recipe is wonderfully straightforward, relying on basic but essential ingredients that come together to create complex flavors and textures. Each component plays a vital role to ensure your Cherry Cheesecake Brownies Recipe is irresistibly moist, creamy, and delightfully fruity.
- 1 cup unsalted butter: Melts to create a rich, velvety brownie base with perfect moistness.
- 2 cups granulated sugar: Sweetens the brownies without overpowering the other flavors.
- 4 large eggs: Bind the batter and add structure for a chewy brownie texture.
- 1 teaspoon vanilla extract: Enhances the overall sweetness and brings warmth to the flavor profile.
- 1 cup all-purpose flour: Provides the necessary structure to support the layers yet ensures soft brownies.
- 1/2 cup unsweetened cocoa powder: Packs that deep chocolate punch essential for brownie lovers.
- 1/2 teaspoon salt: Balances the sweetness and intensifies the chocolate flavor.
- 8 oz cream cheese: Whipped into a luscious layer, it adds tangy creaminess that beautifully contrasts the rich brownie.
- 1/2 cup powdered sugar: Sweetens the cream cheese layer to perfection without graininess.
- 1 cup cherry pie filling: The star ingredient for bursts of fruity brightness and beautiful color pops.
How to Make Cherry Cheesecake Brownies Recipe
Step 1: Prepare Your Oven and Ingredients
Start by preheating your oven to 350°F (175°C) so it’s perfectly hot when you’re ready to bake. This ensures even cooking for your brownies.
Step 2: Melt the Butter
Gently melt 1 cup of unsalted butter in a saucepan over low heat. Taking your time here helps avoid burning and keeps the butter silky smooth, the foundation of your rich brownie base.
Step 3: Combine Sugar, Eggs, and Vanilla
Remove the melted butter from heat and stir in 2 cups of granulated sugar, 4 large eggs, and 1 teaspoon of vanilla extract. Mixing these ingredients now ensures a luscious, smooth batter that will bake into fudgy brownies.
Step 4: Mix the Dry Ingredients
Next, add 1 cup of all-purpose flour, 1/2 cup of unsweetened cocoa powder, and 1/2 teaspoon of salt into the wet mixture. Stir everything together well but don’t overmix—you want tender, chewy brownies rather than cakey ones.
Step 5: Layer Half the Brownie Batter
Grease your baking pan and pour in half of the brownie batter. This initial layer will hold up the decadent cream cheese and cherry toppings beautifully.
Step 6: Prepare the Cream Cheese Layer
In a separate bowl, beat 8 oz of cream cheese with 1/2 cup powdered sugar until it’s silky and smooth. This tangy sweet layer adds a dreamy texture amid the rich chocolate.
Step 7: Spread the Cream Cheese Mixture
Carefully spread the cream cheese layer evenly over the brownie batter in your pan, forming a luscious middle layer that contrasts wonderfully with the chocolate.
Step 8: Add the Cherry Pie Filling
Dollop 1 cup of cherry pie filling generously on top of the cream cheese layer. These juicy cherries deliver bursts of tangy sweetness and stunning color swirls that make these brownies unforgettable.
Step 9: Top with Remaining Brownie Batter
Gently pour the remaining brownie batter over the cherry layer, smoothing it out slightly so it bakes into a cohesive top crust with rich chocolate flavor.
Step 10: Bake and Cool
Bake the brownies for 30 to 35 minutes until set but still moist, then allow them to cool completely before slicing. Cooling helps the layers meld together and prevents messy slices.
How to Serve Cherry Cheesecake Brownies Recipe
Garnishes
To take your Cherry Cheesecake Brownies Recipe to the next level, sprinkle a light dusting of powdered sugar just before serving, or add a few fresh cherries or chocolate shavings on top. A dollop of whipped cream can also add an airy contrast to the dense brownies.
Side Dishes
Serve these brownies alongside a scoop of vanilla or cherry ice cream for an indulgent dessert experience. Fresh mint leaves or a drizzle of chocolate or cherry sauce can also complement the flavors beautifully.
Creative Ways to Present
For parties, cut the brownies into mini squares and thread onto fancy picks to serve as bite-sized treats. You can also layer smaller portions in clear cups to showcase the gorgeous cherry and cream cheese swirls—perfect for impressing guests visually and deliciously.
Make Ahead and Storage
Storing Leftovers
If you have any brownies left (which might be tough!), store them in an airtight container at room temperature. They will stay fresh and delicious for 3 to 4 days, retaining their moist and creamy layers beautifully.
Freezing
These Cherry Cheesecake Brownies Recipe bars freeze wonderfully. Wrap each piece tightly in plastic wrap and place in a freezer-safe container. They’ll keep their flavor and texture for up to 2 months. Just thaw overnight in the refrigerator before serving.
Reheating
To gently warm your brownies, pop them in the microwave for 15 to 20 seconds or bake in a 300°F oven for 5 to 7 minutes. This refreshes their gooey texture without drying them out, making each bite taste freshly baked.
FAQs
Can I substitute the cherry pie filling with fresh cherries?
Absolutely! Using fresh cherries adds a more natural fruit flavor and texture. Just make sure to chop and cook them down slightly with some sugar to replicate the filling’s sweetness and softness, so they spread well in the brownies.
Is it possible to make these gluten-free?
Yes, you can swap in a gluten-free all-purpose flour blend in place of regular flour without changing the measurements. Just ensure your cocoa powder and cherry pie filling are certified gluten-free for best results.
Why do I need to cool the brownies before slicing?
Cooling is key for this recipe because it allows the cream cheese and cherry layers to set firmly. If sliced warm, the layers might ooze or crumble, making neat servings tricky.
Can I double this recipe for a larger batch?
Definitely! Just double all ingredients and use a larger pan or two separate pans. The baking time might increase slightly, so keep an eye on them and test with a toothpick for doneness.
What is the best way to get clean slices with this recipe?
Use a sharp knife and wipe it clean with a warm towel between each cut. Cutting when the brownies are completely cool also helps achieve those neat, beautiful layers that make these so enticing.
Final Thoughts
There’s something truly special about biting into these Cherry Cheesecake Brownies Recipe treats—each layer so rich, creamy, and fruity in just the right way. Whether it’s for a casual family dessert or a show-stopping holiday tray, these brownies are guaranteed to bring smiles and sweet memories. I hope you’ll love making and sharing them as much as I do!
“`
Print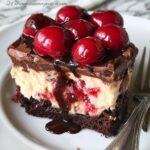
Cherry Cheesecake Brownies Recipe
- Prep Time: 20 minutes
- Cook Time: 35 minutes
- Total Time: 55 minutes
- Yield: 16 servings
- Category: Dessert
- Method: Baking
- Cuisine: American
Description
Delight in the rich, fudgy texture of Cherry Cheesecake Brownies, layered with tangy cream cheese and sweet cherry pie filling. This indulgent dessert combines the best of brownies and cheesecake with a luscious cherry topping, perfect for any occasion.
Ingredients
Brownie Batter
- 1 cup unsalted butter
- 2 cups granulated sugar
- 4 large eggs
- 1 teaspoon vanilla extract
- 1 cup all-purpose flour
- 1/2 cup unsweetened cocoa powder
- 1/2 teaspoon salt
Cream Cheese Layer
- 8 oz cream cheese
- 1/2 cup powdered sugar
Topping
- 1 cup cherry pie filling
Instructions
- Preheat the oven: Set your oven to 350°F (175°C) to ensure it’s perfectly heated when you are ready to bake the brownies.
- Melt the butter: Place the unsalted butter in a saucepan over low heat and melt completely, making sure it doesn’t brown.
- Mix wet ingredients: Remove the melted butter from heat and stir in the granulated sugar, followed by the eggs and vanilla extract until well combined.
- Add dry ingredients: Gradually add the all-purpose flour, unsweetened cocoa powder, and salt to the wet mixture, mixing thoroughly to create a smooth brownie batter.
- Prepare the baking pan: Grease a baking pan and pour half of the brownie batter evenly into it, spreading to the edges.
- Create cream cheese layer: In a separate bowl, beat the cream cheese and powdered sugar until smooth and creamy.
- Layer cream cheese: Spread the cream cheese mixture evenly over the brownie batter in the baking pan.
- Add cherry topping: Spoon dollops of cherry pie filling over the cream cheese layer, distributing it evenly.
- Top with remaining batter: Pour the remaining brownie batter gently over the cherry filling layer, smoothing it out as best as you can.
- Bake: Place the pan in the oven and bake for 30-35 minutes, or until a toothpick inserted in the center comes out with a few moist crumbs.
- Cool and serve: Allow the brownies to cool completely in the pan before slicing into 16 servings to enjoy.
Notes
- Ensure cream cheese is softened for easier mixing and a smoother layer.
- Do not overbake; brownies should be fudgy and moist in the center.
- Use a greased or parchment-lined pan to easily remove brownies after baking.
- For a more pronounced cherry flavor, use fresh or frozen cherries instead of pie filling.
- Store leftovers in an airtight container in the refrigerator for up to 3 days.


